A photography workflow is what turns a good shoot into a dependable client experience. The camera part may take two hours; the work surrounding it can decide whether files are safe, edits stay consistent, and delivery happens when promised. Without a shared path, cards get cleared too early, the best frames are buried in thousands of near-duplicates, and a harmless request for “one more change” becomes an open-ended round of work.
This guide maps a practical photography workflow from the first client brief to a usable archive. It is designed for a solo photographer, but it also works when an assistant, retoucher, or client shares the process. The aim is not to make every shoot identical. It is to make the handoffs predictable, so you can spend attention on the images instead of trying to remember what happened to them.
What Is a Photography Workflow?
A photography workflow is the repeatable sequence that carries a photo project from an idea to delivered, recoverable files. It has more than a to-do list. Each stage answers three questions: what enters this step, who is responsible for it, and what has to be true before it can move on.
For a portrait photographer, that sequence might begin with a session brief and finish with a private gallery and a backed-up archive. For a product photographer, it might begin with a shot list, samples, and usage requirements, then finish with approved web and print exports. The details change, but the risk points are remarkably similar: unclear scope before the shoot, a single copy of the originals, uncontrolled culling, an inconsistent edit, and an ambiguous final handoff.
The map is especially useful at the boundaries. A client may believe “retouched” includes removing every background distraction; the editor may assume it means color correction only. A written stage and approval gate expose that mismatch before delivery day. If you work alone, the workflow still helps because it stops the different roles in your head from blending into one vague task called “finish the photos.”
The 8 Steps of a Photography Workflow
1. Confirm the brief before you pack a bag
Start with the outcome, not the camera settings. Record the purpose of the images, the intended channels, the required orientation, the deadline, the people who can approve work, and the expected delivery range. For a family session, that may be a gallery of edited images for print and sharing. For a restaurant menu, it may be landscape and portrait crops for a website, delivery platform, and social posts.
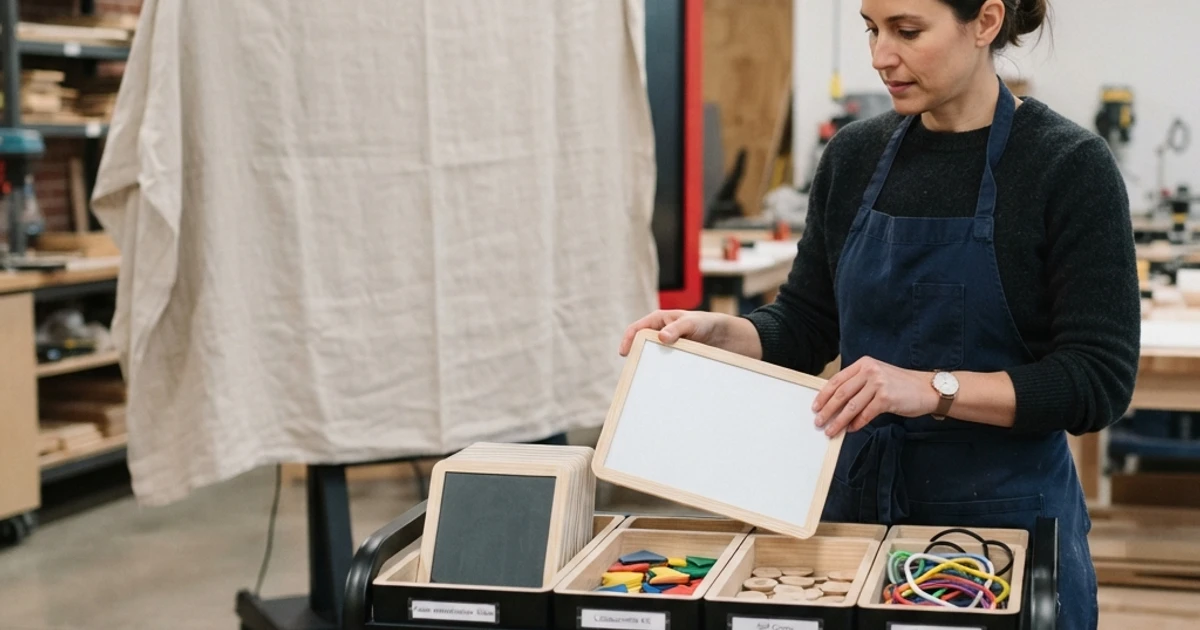
Turn the brief into a short shot list. It does not have to make the shoot stiff; it protects the non-negotiables when energy is high and time is short. Include references, must-have frames, location details, contact numbers, release requirements, and any product or wardrobe logistics. When the scope is visible, you can also set a revision boundary before anyone has seen a proof.
2. Capture with the handoff in mind
During the shoot, collect enough context to make the next stage easier. Use a consistent card-labeling habit, photograph a quick reference frame when the scene or product changes, and mark standout moments in whatever way your camera or note-taking practice supports. An assistant can log these moments; a solo shooter can capture a note image or make a short voice note between setups.
3. Create two verified copies before cards are cleared
The first post-shoot decision should be protection, not editing. Copy every original card to a working drive and a separate backup location. Confirm that both copies open and contain the expected files before formatting or reusing a card. A cloud sync can be one of those locations, but only if you have checked that it actually finished uploading.
Use a folder pattern that makes a project findable months later, such as 2026-08-26_RiveraFamily_Portraits. Inside it, keep predictable folders for originals, selects, exports, and project notes. Consistency is more useful than an elaborate taxonomy you will abandon after three jobs. The rule that matters is simple: the camera card is not a backup plan once a project is in progress.
4. Ingest and cull in two passes
The first cull removes technical failures and obvious duplicates: accidental frames, missed focus, closed eyes when a better alternative exists, test shots, and near-identical bursts. Move quickly. Trying to make aesthetic decisions at this stage is how an hour becomes an afternoon.
The second pass builds the story. Compare similar frames side by side, choose the expression or composition that serves the brief, and flag the images with genuine delivery potential. A product set may require complete coverage of every SKU and angle; an event set may need a balanced mix of arrivals, speakers, candid interactions, and detail shots. The standard is not “keep every nice photo.” It is “create a final set the client can use without sorting it again.”
5. Set the edit direction before editing everything
A stable photo editing workflow begins by editing a small representative sample. Choose images from different lighting conditions, establish exposure, white balance, contrast, crop, and the general color treatment, then compare them together. If the look holds across the sample, apply the baseline consistently and move into image-specific adjustments.
6. Edit, quality-check, and export deliberately
Once the direction is settled, edit the selected images in batches while checking occasional full-resolution files. Look for color shifts between locations, inconsistent crops, visible dust, unwanted reflections, and files that look fine small but fail at the intended output size. A short quality-control checklist is more reliable than trusting tired eyes at the end of the day.
Export named sets for their purpose. A client may need high-resolution print files, smaller web-ready files, and a few vertical social crops. Keep the export naming readable and separate proof files from finals. The client should not need to interpret DSC_3487_final_final2.jpg, and future you should be able to tell which folder was actually delivered.
7. Make client review a gate, not a conversation without an end
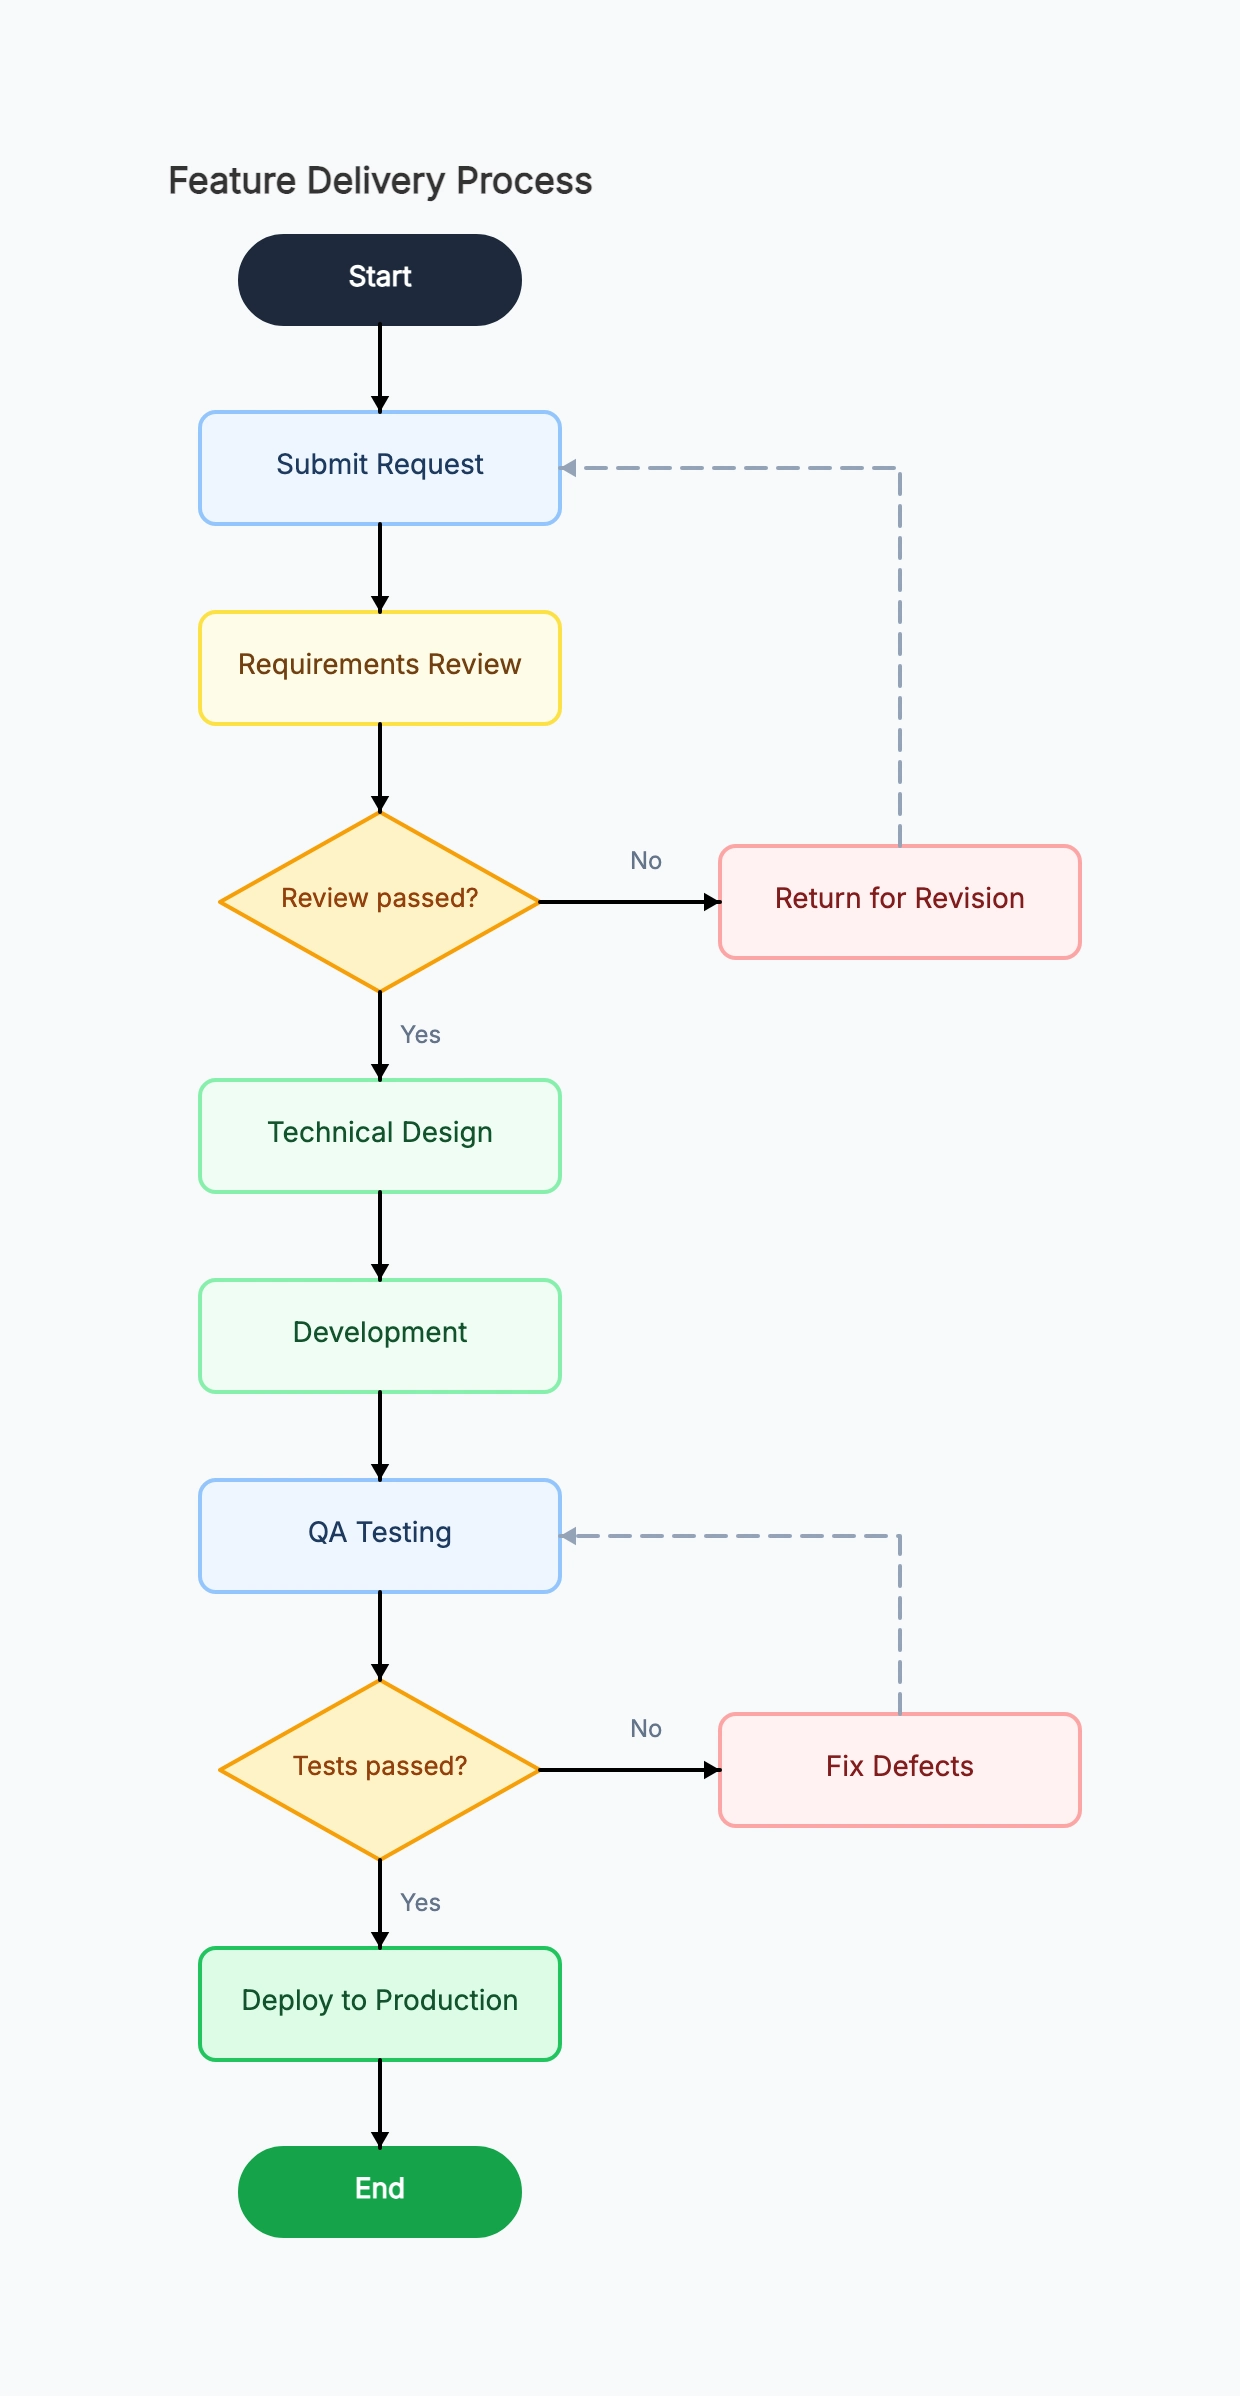
Use a proof gallery when the client needs to select favorites or approve the editing direction. State exactly what they are reviewing, how they should mark selections, how many selections or revision rounds are included, and when feedback is due. The workflow branch should be clear: approved images move to final export; requested changes return to the relevant edit stage with a defined scope.
For a simple portrait session, a proof gallery may be optional because you have already selected the final story. For a commercial shoot, it is often essential because the client has brand, layout, or product requirements only they can verify. In either case, send final delivery with one concise note: what is included, how long the gallery remains available, and where to ask questions.
8. Archive the project so the next request is easy
Archive the originals, editing catalogue or sidecar data, final exports, signed approvals, and the brief. Keep at least two copies in separate locations according to your own storage policy. Add a short project note with the delivery date, client contact, usage terms, and anything you would want to know if asked for an additional export next year.
An archive is not a digital attic. It is the final deliverable to your future business. When a client returns asking for a square crop, a print file, or a photo from “that shoot near the river,” an organized archive lets you respond in minutes rather than reconstructing the project from memory.
Example: A Client Portrait Session from Brief to Archive
Imagine a two-hour outdoor portrait session for the Rivera family. In the brief, the photographer records that the family wants a warm, candid gallery, three print-ready favorites, and a shareable gallery within ten days. The parents are the approvers; there is one small retouching round. The shot list names a group portrait, each parent with the children, sibling photos, and unposed movement.
After the session, both memory cards are copied to a working drive and a separate backup before either card is reused. The project folder is named 2026-08-26_RiveraFamily_Portraits. The first cull drops misfires and repeated bursts. The second produces 86 strong images with the planned combinations represented.
The photographer edits six images across sunny and shaded locations to establish the warm but natural color direction. That baseline is applied across the selects, then each image receives its own crop and local adjustments. Before export, the photographer checks skin tones, a distracting sign in the background, and whether the three group-portrait options look meaningfully different.
The final gallery contains 74 web and print-ready images. The family receives a link, download guidance, and the gallery expiration date. Their one retouch request applies to a single group portrait, so it returns only to the edit stage, not to a new full-gallery review. The final exports, originals, and request are then archived with the original brief. Nothing about this process is glamorous; that is why it works. Each decision has a home.
Product Photography Workflow: What Changes?
Product photography has the same backbone but stricter control points. The brief should define every SKU, angle, crop ratio, background, color requirement, filename convention, and channel. Missing one approved angle can matter more than delivering twenty beautiful but unrequested images.
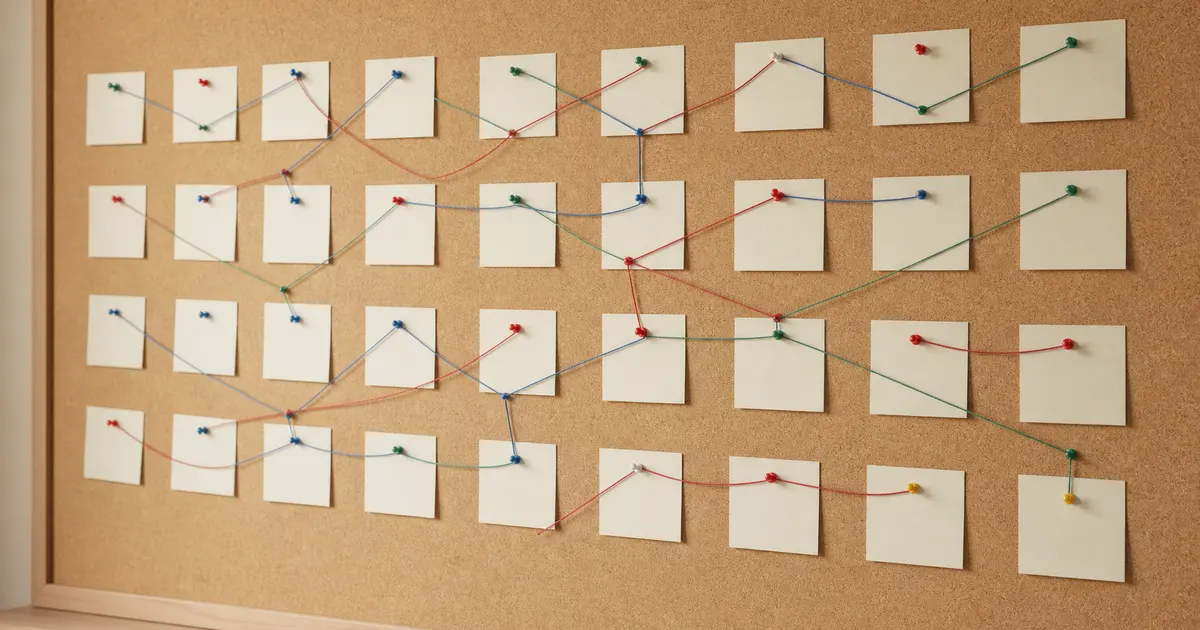
Build the cull around coverage instead of instinct alone. A useful board groups each product by required view—front, detail, scale, packaging, or in-use—and marks whether it has passed. During editing, compare color against an agreed reference, keep crops consistent across the catalog, and send a small proof set early when brand approval is important. The final delivery normally separates ecommerce-ready exports, high-resolution files, and source-retention rules.
The Three Handoffs That Cause Most Delays
Most problems cluster at three boundaries: brief to shoot, where a message never reaches the shot list; capture to edit, where files have no reliable home; and review to delivery, where feedback has no final decision-maker. Draw the output between stages—approved shot list, verified backup, selected proof set—and name the person who accepts it.
How to Draw Your Photography Workflow
Open the Process Map template and start with eight blocks: Brief, Capture, Backup, Cull, Edit Direction, Edit & Quality Check, Review & Deliver, and Archive. Under each block, add a short owner label and one concrete output. For example, the Backup block can say “photographer” and “two verified copies.” Add a decision at Review: approved goes to delivery; changes go back to the specific editing step.
If the project has dates or dependencies, pair the map with a timeline template. If several people handle production, retouching, and approval, use a RACI chart to make accountability visible. These boards are not documentation you create once and forget; they are a shared reference when a project changes shape.
Common Photography Workflow Mistakes
Treating one drive as a backup. A second folder on the same drive does not protect against a drive failure. Verify separate copies before cards are wiped.
Editing before choosing a representative direction. Working image by image without a baseline creates a gallery that varies with the time of day and your energy level.
Mixing proofs and final files. The client cannot tell what is ready to use, and revision requests become hard to trace. Keep distinct folders and names.
Leaving feedback open-ended. “Let me know what you think” invites vague, late, and conflicting comments. Ask for a named approver, a deadline, and a clear selection method.
Archiving only the exported JPEGs. A future crop or print request may require originals and editing data. Store the project as a recoverable unit.
Related Guides
- Use a storyboard template to turn a concept into a shot sequence before a commercial shoot.
- Plan deliverables and approval dates with a timeline template.
- Keep complex shoots moving with a Kanban board template.