A music production workflow turns the chaotic creative process of making a song into a repeatable sequence of stages you can actually finish. Every producer has a folder full of half-finished ideas — the eight-bar loop that never became a song, the demo that sounded great until you tried to mix it, the track that got stuck in arrangement limbo for six months. A structured workflow does not kill creativity. It gives creativity a container — a path from "what if" to "done."
This guide walks through every stage of a music production workflow, from the first song idea to the final master. Each stage covers what to produce, who is responsible, what "done" looks like, and the most common ways tracks get stuck. Use the free kanban board template to track your projects through each stage.
Stage 1: Songwriting and Idea Capture
Every song starts as an idea. The goal of this stage is not a finished song — it is a captured idea you can return to and develop.
Deliverables: a voice memo, a rough phone recording, a few lines of lyrics, a chord progression, or a beat sketch in your DAW. The format does not matter. What matters is that the idea exists outside your head.
Common pitfalls: judging ideas too early. The songwriter who deletes every voice memo because "it sounds rough" is the songwriter with no songs. Capture first, filter later. Move ideas that survive a second listen to the Demo stage.
Checkpoint: can you hum the core melody or describe the emotional arc of the song to someone else? If not, the idea is not clear enough to develop. Refine before moving on.
Stage 2: Demo
A demo is a rough recording that communicates the song's structure and feel. It is not a finished recording — it is a blueprint.
Deliverables: a basic DAW session with a scratch vocal, a guide instrument track (guitar or piano), and a rough structure (verse, chorus, bridge). The tempo and key should be locked in. MIDI drums or a simple loop are fine for timing reference.
Common pitfalls: over-producing the demo. Spending three hours on the kick drum sound at the demo stage is a waste — you will replace it later. Keep the demo rough and move on. The demo exists to answer one question: is this song worth finishing?
Checkpoint: play the demo for one other person. Their reaction tells you whether to proceed or park the idea.
Stage 3: Arrangement
Arrangement is where a song idea becomes a complete musical structure. This is the stage where many promising demos die — not because the idea was bad, but because the producer could not commit to a structure.
Deliverables: a complete song structure with defined sections (intro, verse, pre-chorus, chorus, bridge, outro), instrument roles assigned (what plays when), and a rough dynamic arc (where does the song get loud, where does it pull back).
Common pitfalls: endless looping. A producer plays the 8-bar chorus on repeat, adds layers, and never writes a verse. Break the loop early — copy the core idea across a timeline and force yourself to write transitions. Another common pitfall: arrangement by accumulation, where every section gets every instrument. The best arrangements subtract.
Checkpoint: does the arrangement tell a story? Play the song from start to finish without stopping. If a section feels too long or a transition feels jarring, fix it now — these problems get much harder to fix after recording.
Stage 4: Recording and Tracking
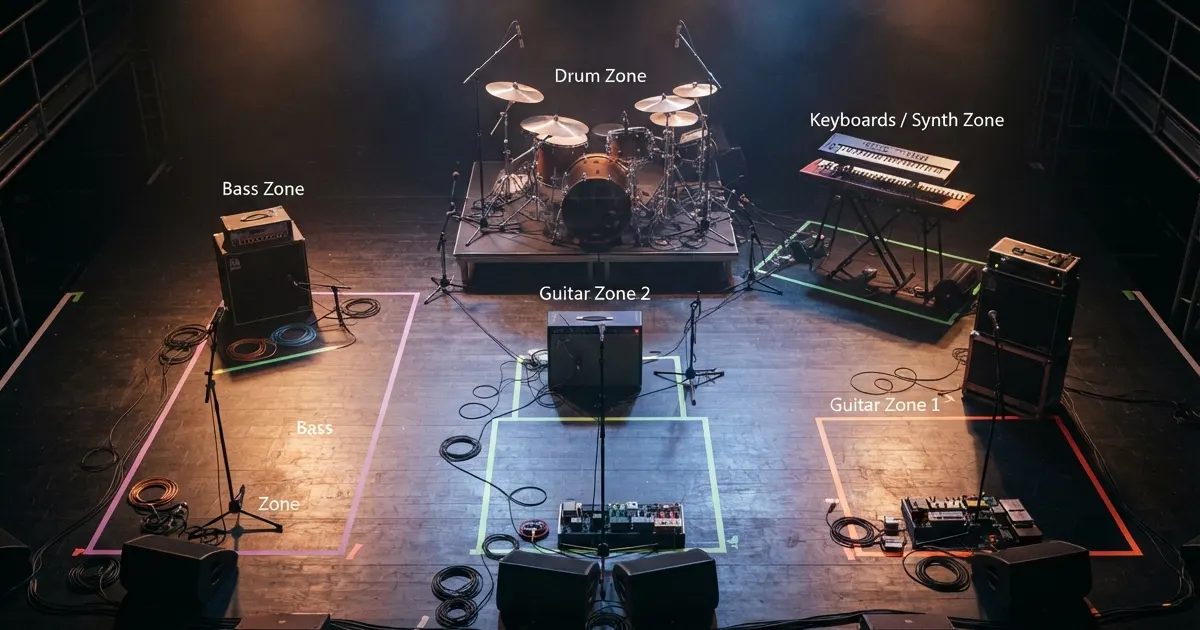
This is where you capture real performances. For electronic producers, this stage overlaps with arrangement as you record MIDI and automate parameters. For bands and singer-songwriters, this is the studio phase.
Deliverables: clean recorded tracks for every instrument and vocal part. Each track should be edited for timing and pitch as needed, but not yet mixed.
Common pitfalls: recording without a reference. Always record to a click track or a guide track. Fixing timing drift across 20 tracks after recording is a nightmare. Another pitfall: recording too hot. Leave 6–12 dB of headroom — digital clipping cannot be fixed in mixing.
Checkpoint: can you solo each track and hear a clean, usable performance with no clipping, excessive noise, or timing issues? If yes, move to editing.
Stage 5: Editing
Editing cleans up the recorded tracks before mixing. This is about removing noise, tightening timing, and fixing pitch — not about making things sound "good" (that is mixing).
Deliverables: clean, edited tracks with fades applied, silence trimmed, timing aligned, and pitch corrected where needed. Comp together the best takes for each section.
Common pitfalls: editing forever. Set a time limit per track. If you have spent 45 minutes editing a single vocal take, you should have re-recorded it. Also: editing in solo. Always check edits in context — a perfectly timed edit that sounds unnatural with the full mix is worse than a slightly loose performance that feels right.
Checkpoint: play all tracks together with no processing. Does the performance feel tight and intentional? If there are timing or pitch issues that distract from the song, fix them. If you can listen through without wincing, move to mixing.
Stage 6: Mixing
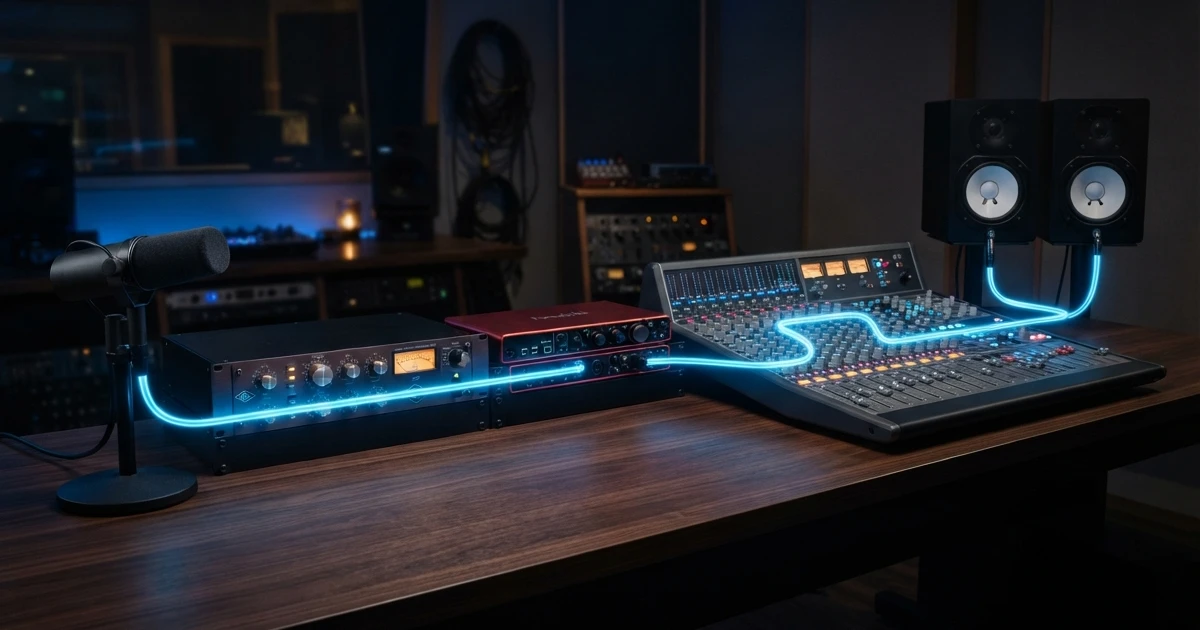
Mixing balances levels, pans instruments in the stereo field, applies EQ and compression, adds reverb and delay, and creates a cohesive soundstage where every element has its place.
Deliverables: a stereo mixdown at the target loudness, with all processing applied. The mix should translate across playback systems — headphones, car speakers, phone speakers, laptop.
Common pitfalls: mixing in solo. Every instrument sounds amazing in solo. The only thing that matters is how it sounds in the full mix. Another pitfall: no reference track. Import a professionally mixed song in a similar genre into your session and A/B compare regularly. If your mix sounds dramatically different in tonal balance or loudness, adjust.
Checkpoint: does the mix sound good at low volume on phone speakers? If the vocal disappears or the bass becomes inaudible, your mix is not translating. Go back and fix the midrange balance.
Stage 7: Mastering
Mastering is the final polish: loudness optimization, tonal balance across an album, and format preparation for distribution.
Deliverables: a mastered stereo file at the target loudness for your distribution platform (streaming, CD, vinyl). A DDP image or digital master file ready for upload.
Common pitfalls: mixing and mastering in the same session on the same monitors with the same ears. You need fresh ears or a different listening environment to catch issues. Many producers use AI mastering services for a quick reference master, then decide whether to hire a professional mastering engineer.
Checkpoint: does the master sound competitive with reference tracks in the same genre at the same playback level? If yes, the track is ready for release.
How to Track Multiple Projects with a Music Production Workflow
Most producers work on multiple tracks simultaneously. A kanban board is the simplest way to see the status of every project at a glance.
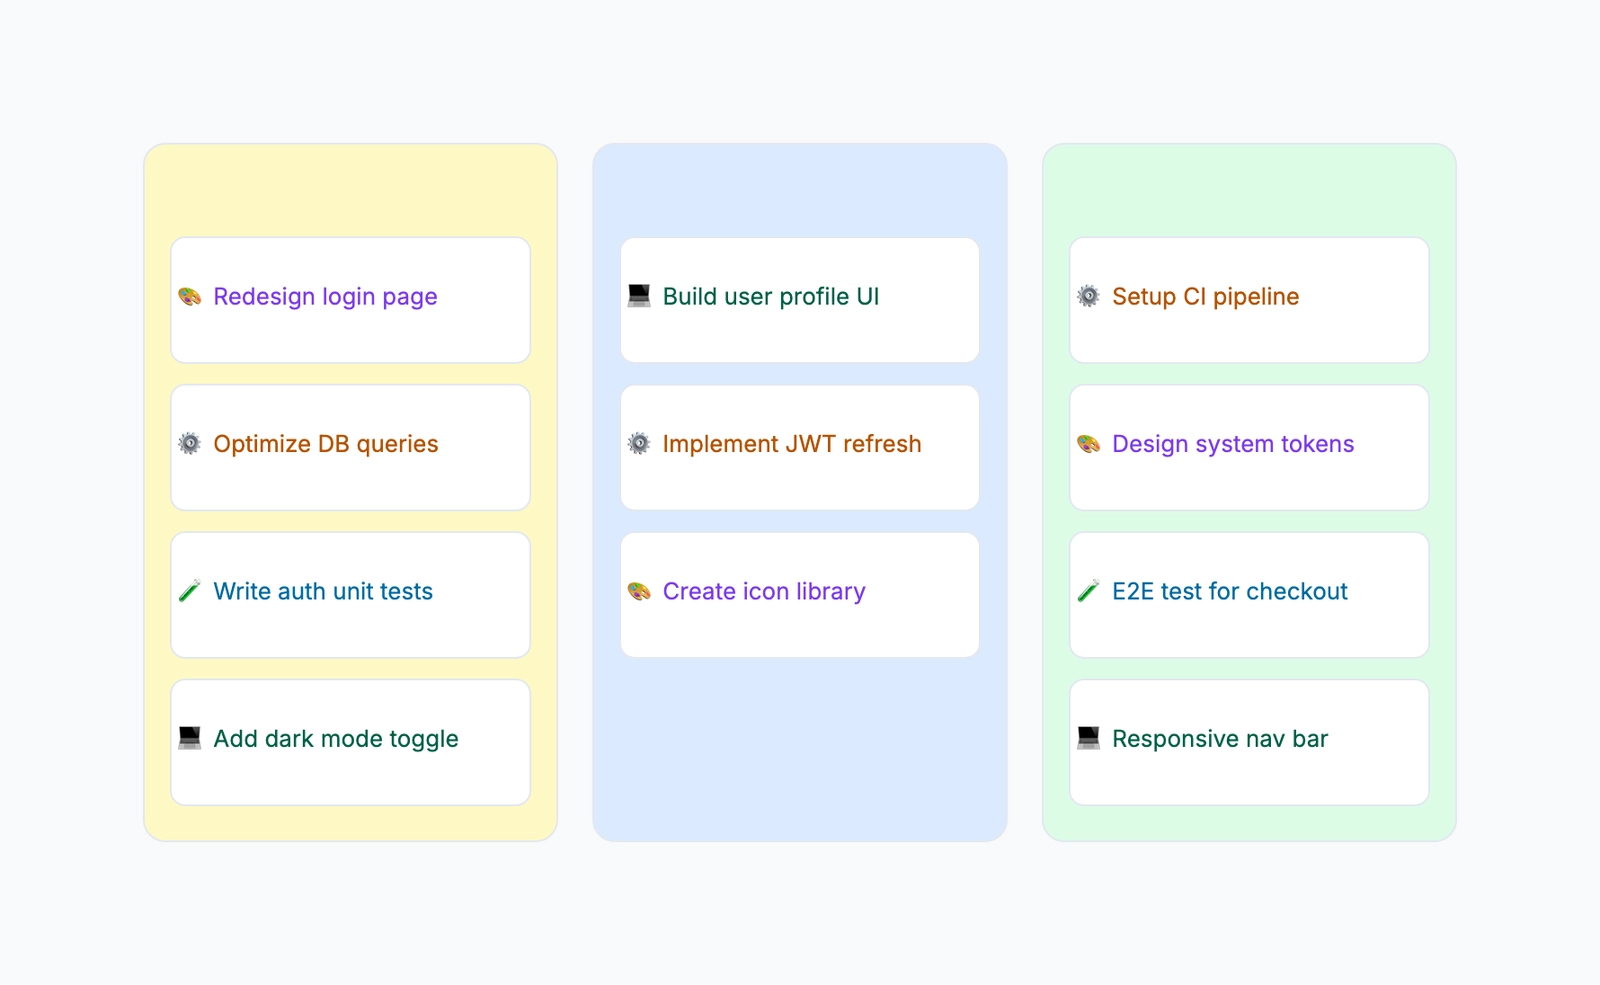
Create a board with columns for each stage: Idea, Demo, Arrangement, Recording, Editing, Mixing, Mastering, Released. Each track or song gets a card. Move the card as the track progresses. This makes it immediately visible if you have 12 tracks in the Idea stage and zero in Mastering — a sign you are starting too many projects and finishing none.
Open the free kanban board template and customize the columns for your production stages.
Common Mistakes Across All Stages
Skipping the demo stage. Some producers go straight from a voice memo to a full arrangement. This almost always wastes time — you build a complex arrangement around an idea that was not strong enough to carry a full song. A rough demo takes 30 minutes and saves hours of abandoned arrangements.
No reference tracks. At every stage from arrangement through mastering, import a professionally produced song in a similar style into your session. A/B compare regularly. If your track sounds dramatically different in tonal balance, loudness, or width, you have a problem you cannot hear on your own monitors. Reference tracks are the cheapest way to calibrate your ears.
Mixing before the arrangement is finished. It is tempting to start EQing and compressing while you are still writing parts. Resist. Mixing decisions made during arrangement are always wrong because you are processing sounds in isolation. Finish the arrangement, commit to the structure, and only then start mixing.
No explicit stage gates. A stage gate is a simple yes/no question that must be answered before moving to the next stage. Without gates, stages blur together and tracks drift. Examples: "Does this demo communicate the song idea to someone hearing it for the first time?" (gate for Demo → Arrangement) or "Does the mix translate to phone speakers at low volume?" (gate for Mixing → Mastering).
Working on too many tracks at once. The kanban board will make this visible immediately. If you have 15 cards in the Idea column and zero in Mastering, you are starting projects, not finishing them. Limit yourself to 3–5 active tracks at a time. Move a track to Released before starting a new one.
A music production workflow turns "I make music" into "I finish songs." Map your stages on a free kanban template, set stage gates for each transition, and move songs through to completion — one finished track at a time.