A project timeline template for PowerPoint is what most people actually need — not a standalone chart, but a timeline that lives inside the deck they're already building. SmartArt gets you a basic timeline in 30 seconds, but it looks like every SmartArt timeline anyone has ever seen. This guide shows you how to go beyond that: custom layouts that actually hold attention in a stakeholder presentation.
Fastest Visual Option: Build Once in CodePic, Drop It into PowerPoint
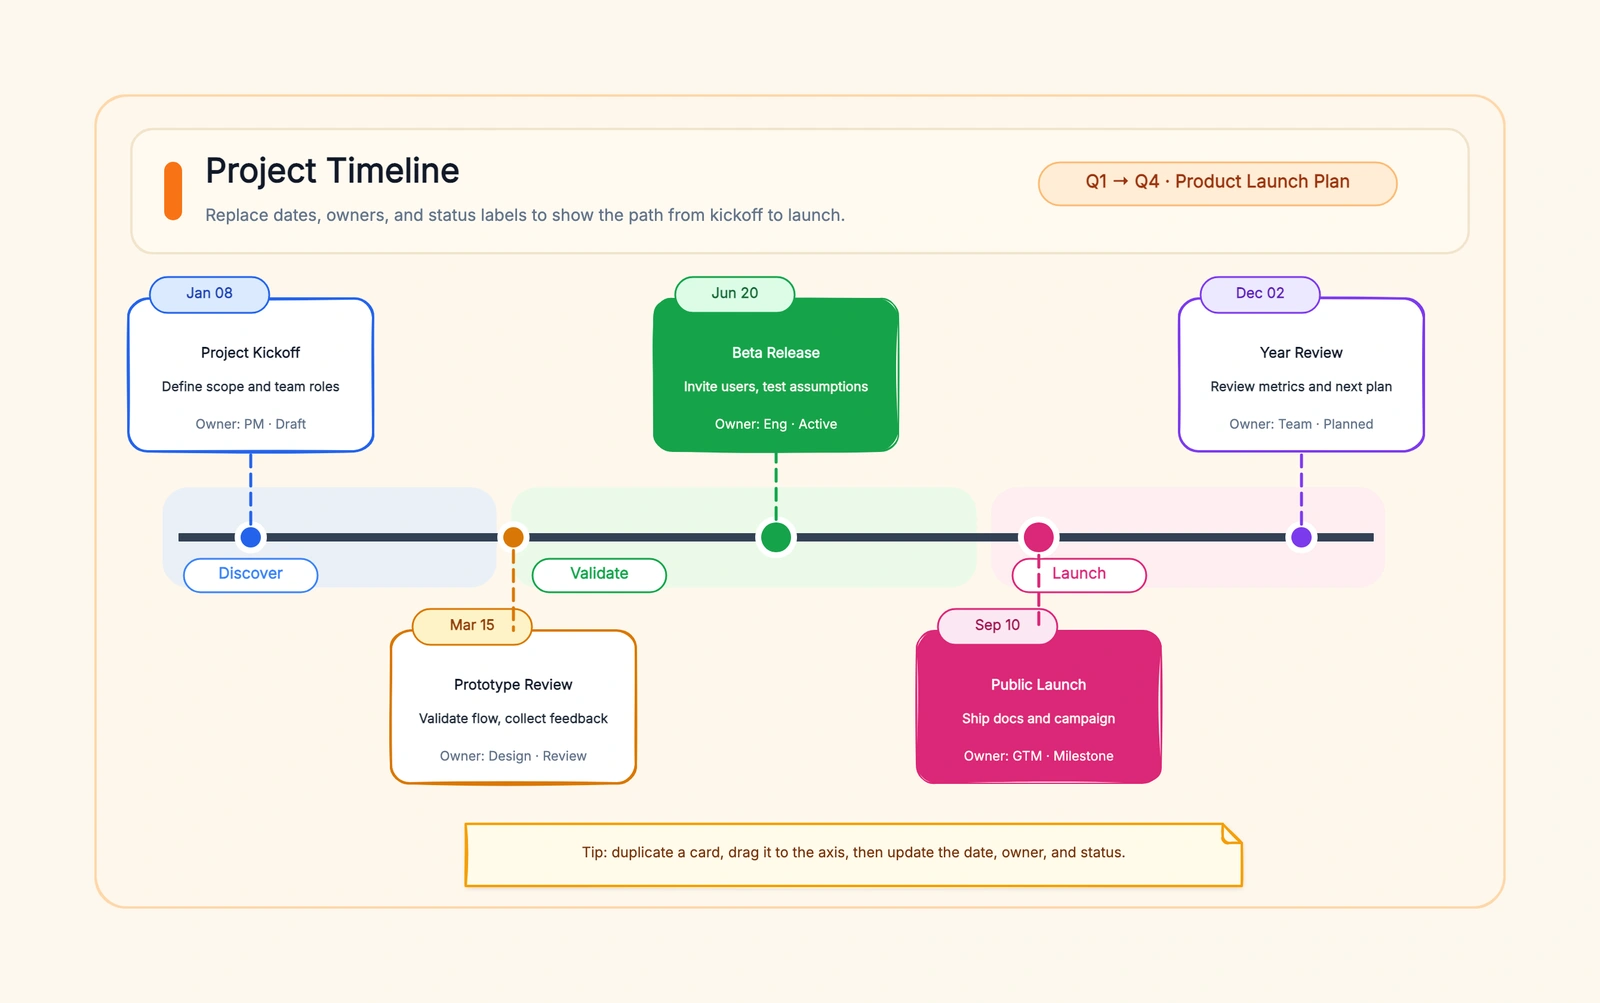
If the slide matters and you do not want another SmartArt-looking timeline, open the editable CodePic timeline template, replace the milestone labels, export a PNG or SVG, and place it on the slide. PowerPoint still owns the deck; CodePic handles the timeline drawing so you avoid manual alignment, uneven spacing, and default SmartArt styling.
This works best for executive updates, investor decks, launch reviews, and any timeline where visual polish matters more than keeping every shape editable inside PowerPoint.
When PowerPoint Is the Right Tool
PowerPoint timelines make sense when the timeline's final destination is a slide deck. The advantage is obvious: no export step, no image that pixelates when you resize it, no jumping between tools when a date changes.
PowerPoint is the wrong choice when: the timeline needs to live outside the deck (on a webpage, in a shared doc, as a standalone deliverable), you need auto-updating dates linked to a data source, or you need more than 8 milestones on a single view. In those cases, build the timeline in a dedicated tool and import the PNG into PowerPoint.
Custom Timeline Layouts That Beat SmartArt
Layout 1: The Alternating Timeline
Instead of putting every milestone above the timeline line, alternate: milestone 1 above, milestone 2 below, milestone 3 above, and so on. This creates visual rhythm and prevents the text from crowding together. It works best with 5-7 milestones where each has a one-line label.
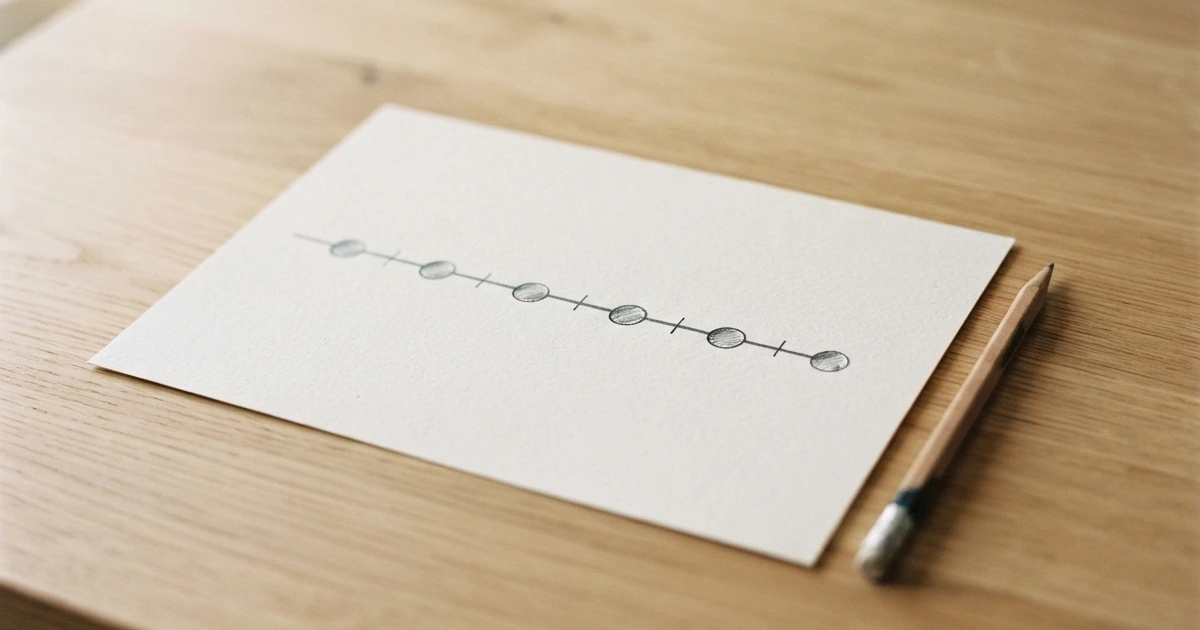
How to build: draw a horizontal line across the middle of the slide (Insert → Shapes → Line). Add small circles (Insert → Shapes → Oval, hold Shift for perfect circles) at equal intervals along the line. Position the odd-numbered milestones above the line, even-numbered below. Add text boxes for milestone names and dates.
Layout 2: The Flag Timeline
Replace milestone circles with small flag shapes or pins. This works particularly well for "milestone achieved" presentations — project retrospectives, quarterly reviews, investor updates — where the visual metaphor of "flags on a map" reinforces the story.
How to build: same as the alternating timeline but use diamond shapes or the built-in flag icon (Insert → Icons → search "flag") instead of circles at each milestone point.
Layout 3: The Phase Timeline
Group milestones into 3-4 phases, each with a colour block and a phase label. Milestones sit within their phase blocks. This is the strongest layout for executive presentations because it reduces cognitive load — the audience sees 3 phases, not 12 individual milestones.
How to build: draw 3-4 rounded rectangles across the slide (one per phase), each with a distinct but muted colour. Place milestone circles within each phase block. Add a phase title above each block. This layout naturally communicates "we're in Phase 2" without anyone having to count milestones.
Formatting Tips for Stakeholder-Ready Timelines
Use thin lines. Thick connector lines make a timeline look like a Gantt chart. Use 1pt strokes in a neutral grey. The line is the backdrop; the milestones are the content.
One accent colour. Colour every milestone the same neutral tone, except one — the launch date, the decision point, or "today." The contrast draws the eye to what matters. Multiple accent colours dilute the effect.
Left-align milestone labels. Centered text above each milestone circle looks amateurish. Left-align labels above their circles, or right-align labels to the left of the circle. Consistent alignment signals intentional design.
Add a "Today" marker. A thin vertical dashed line marking the current date grounds the timeline in now. The audience immediately sees what's done, what's in progress, and what's ahead.
Use the slide title well. Don't write "Project Timeline." Write "Q3 2026 Product Launch Timeline" — the slide title is the most-read text on the page. Make it informative.
Common Mistakes
Cramming too much text. A PowerPoint timeline is a visual, not a document. If a milestone needs more than 8 words to explain, put the detail in the speaker notes or a follow-up slide.
Using SmartArt without customizing. The default SmartArt timeline has 5 evenly spaced circles in Microsoft's default blue. It communicates "I spent 30 seconds on this." At minimum, change the colours, adjust spacing, and replace the default font.
Inconsistent spacing. If your milestones aren't evenly distributed in time but you space them evenly visually, the timeline misrepresents duration. Use proportional spacing for date-accurate timelines, or add a note: "milestones spaced for readability; see dates for actual intervals."
When to Import Instead of Build
If you need a timeline that looks designed — not just "clean for a PowerPoint slide" but genuinely polished — build it in Canva, Visme, or CodePic and import the PNG. The 2-minute export step is worth the visual quality difference for board presentations, investor decks, and conference slides.
Our main free timeline maker guide compares 7 tools side-by-side, including how well each one's output drops into PowerPoint.
If you'd rather skip the manual building and drop a ready-made timeline straight into your deck, try the CodePic timeline template — export to PNG, drag into PowerPoint, done. No signup, no watermark.
Related Reading
- Free Project Timeline Maker: 7 Tools + Templates Compared — The main timeline pillar with full tool comparisons
- Project Timeline Template Excel: Free Download + Step-by-Step — When the timeline data is already in a spreadsheet
- Project Timeline Template Google Sheets: Collaborative + Free — Real-time collaborative alternative
- Simple Project Timeline Template: Clean, Fast, No Fuss — A lighter approach when the timeline doesn't need to be a presentation