A flowchart is how you turn a messy process into something you can actually see and follow. If you're new to flowcharts, start with What Is a Flowchart? for an overview of symbols, types, and when to use one. Whether it's an approval workflow that nobody fully understands, a customer support escalation path buried in someone's head, or a feature you're about to build — drawing it out forces you to confront the gaps, the edge cases, and the steps you thought were obvious but aren't.
The real value isn't the finished diagram. It's the act of making it. You'll catch missing steps, dead-end branches, and unnecessary complexity while you're still sketching, not after you've shipped.
Basic Symbols
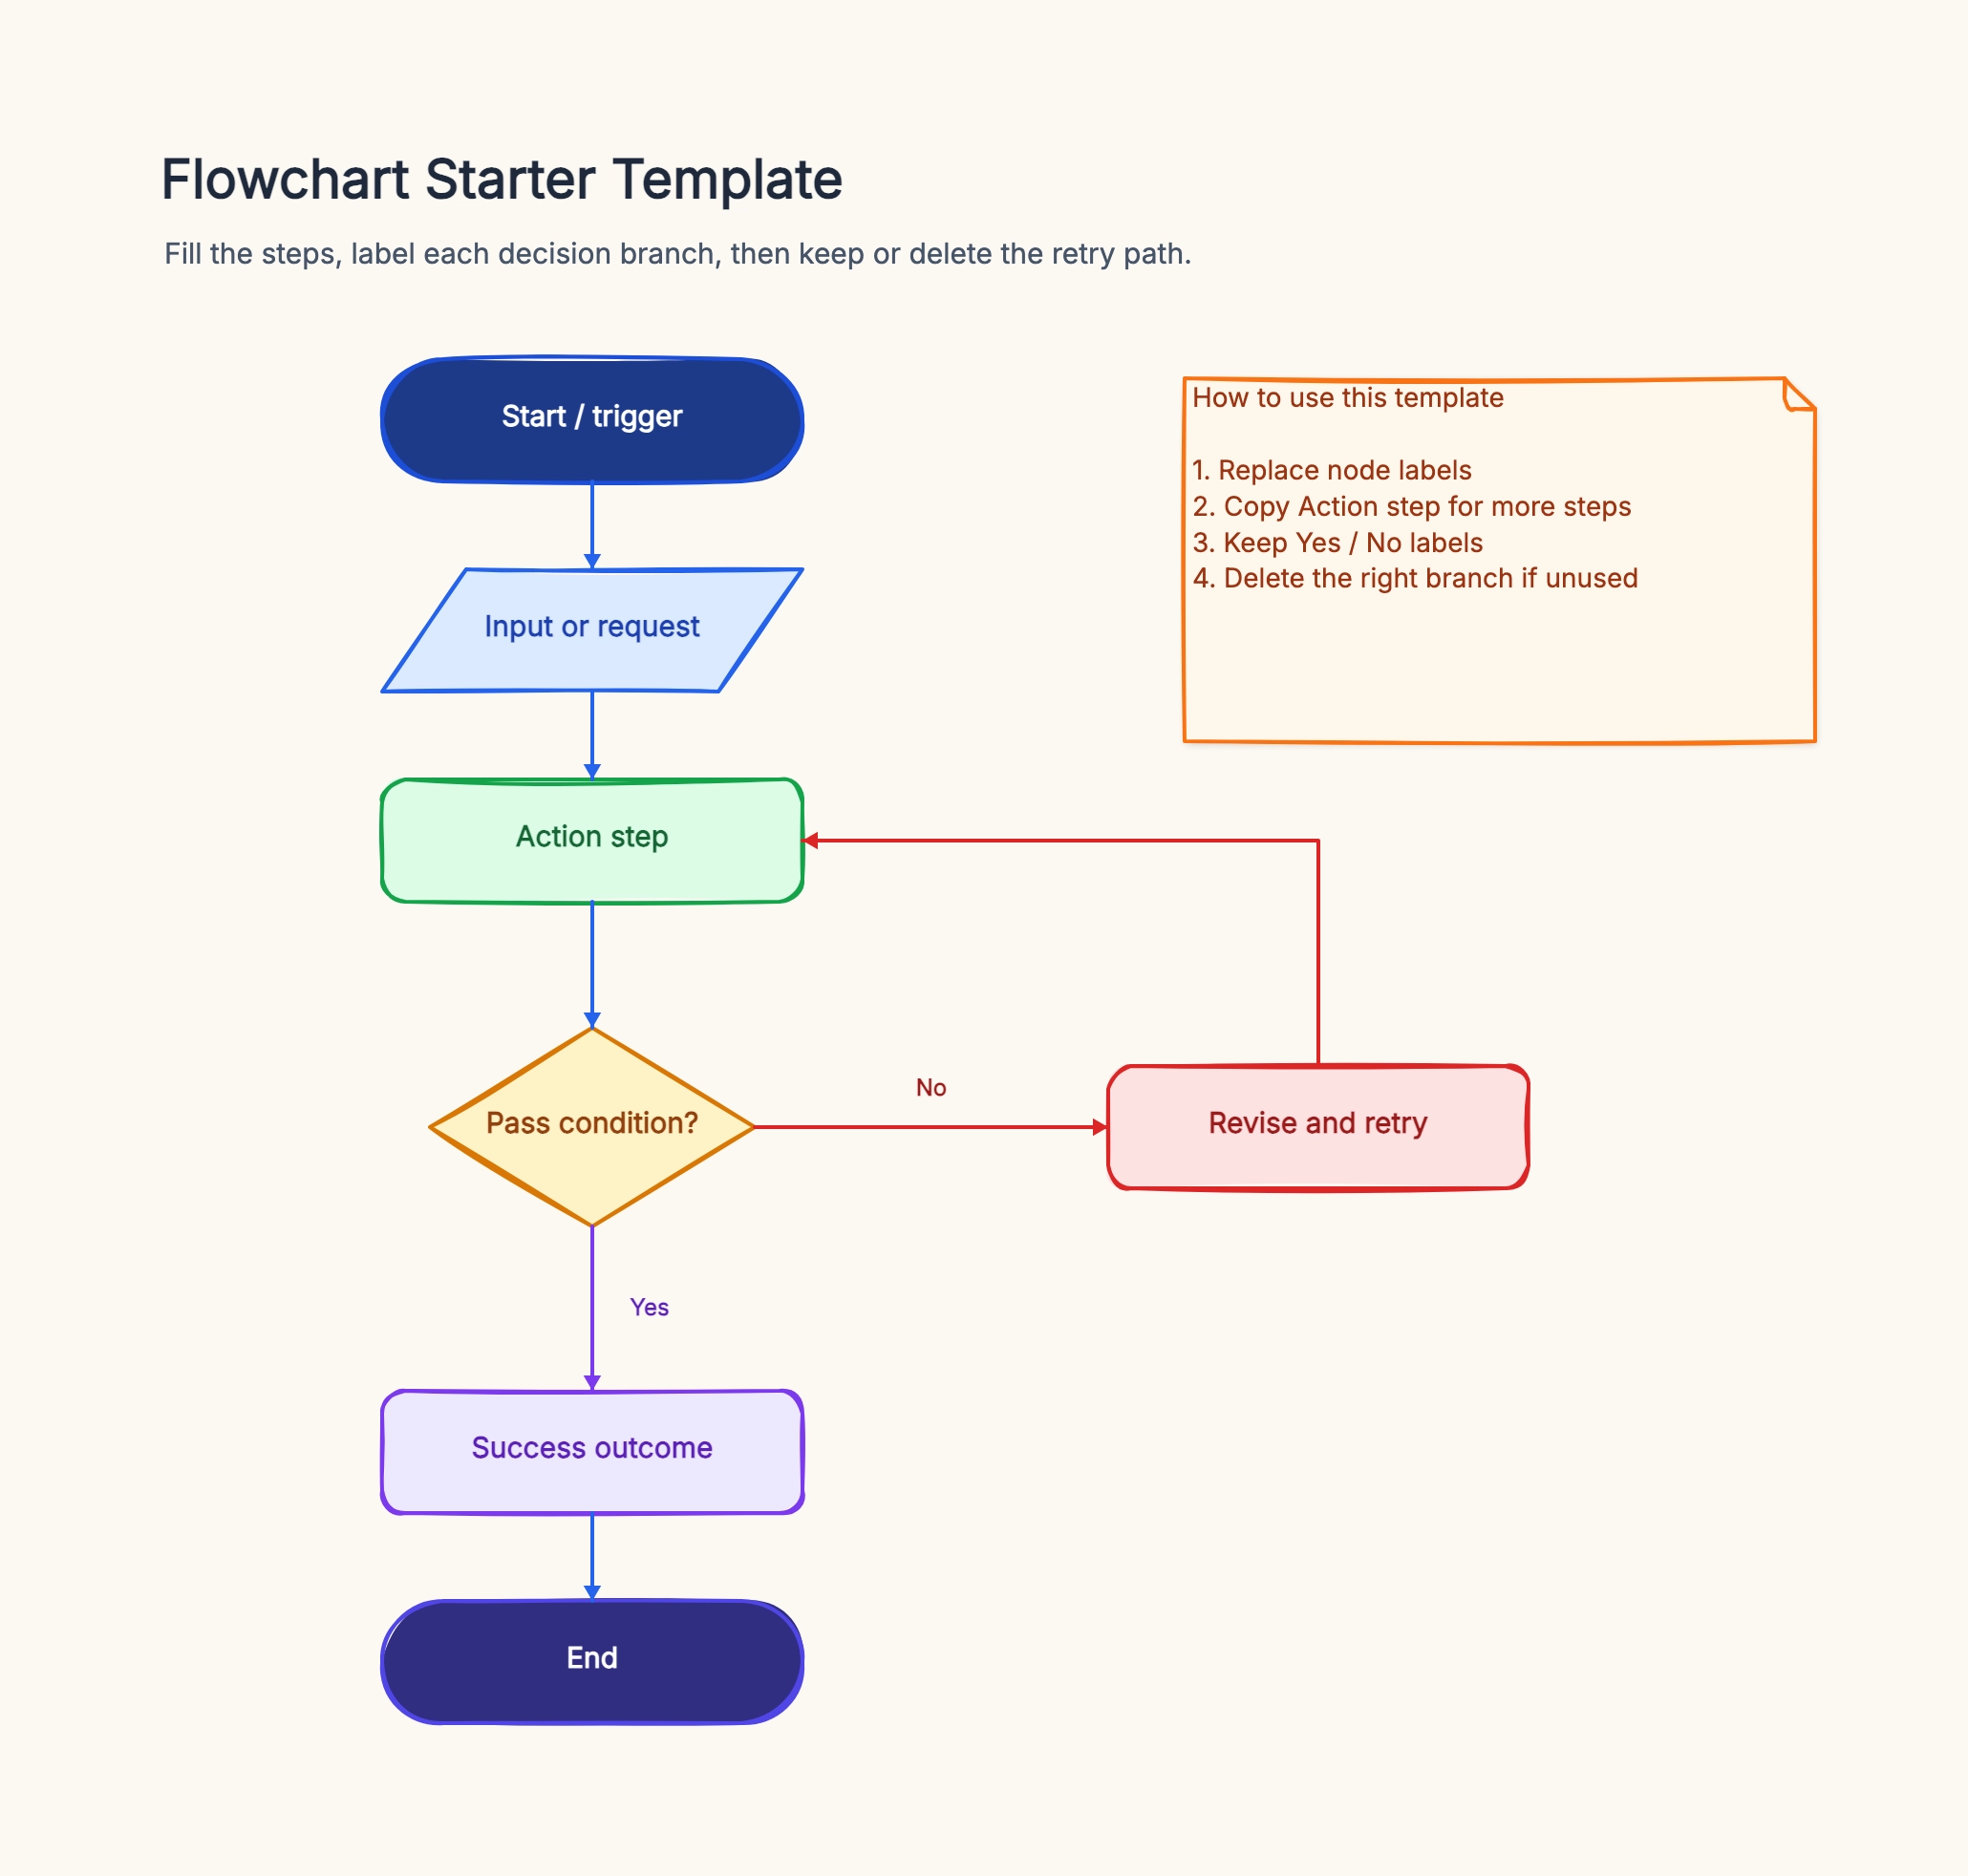
Before you start drawing, here are the five symbols you'll actually use:
- Rounded rectangle (or oval) — Start and End points
- Rectangle — A step or action ("Send email", "Check inventory")
- Diamond — A decision ("Approved?", "In stock?") with Yes/No branches
- Parallelogram — Input or output ("User submits form", "Generate report")
- Arrow — Shows the direction of flow
That's it. You don't need to memorize a full symbol library to make a useful flowchart.
Step-by-Step: Making a Flowchart
Step 1: Define the start and end
Every process has a beginning and an end. Nail these down first.
This sounds obvious, but it's where most people go wrong. "User registration" isn't specific enough. What triggers the process? What counts as "done"?
Better: the process starts when a visitor clicks the Sign Up button and ends when the account is fully activated and the user lands on the dashboard.
Step 2: List the steps in plain text
Don't touch any drawing tool yet. Write out the steps as a simple numbered list:
1. User clicks Sign Up
2. Fill in email and password
3. System sends verification email
4. User clicks verification link
5. System activates account
6. Redirect to dashboard
This is your rough draft. It doesn't need to be perfect — you're just getting the sequence down.
Step 3: Find the decision points
Go through your list and ask: where does the process branch? Where can things go two different ways?
For our registration example:
- After step 2: What if the email is already registered?
- After step 4: What if the verification link has expired?
Each "what if" is a diamond in your flowchart. Mark them in your list:
1. User clicks Sign Up
2. Fill in email and password
3. → Decision: Email already registered?
     Yes → Show error, go back to step 2
     No → Continue
4. System sends verification email
5. User clicks verification link
6. → Decision: Link expired?
     Yes → Prompt to resend, go back to step 4
     No → Continue
7. System activates account
8. Redirect to dashboard
Step 4: Connect everything in order
Now draw it. Place your Start symbol at the top, work your way down through each step, and branch at the decision points. Make sure every branch either reconnects to the main flow or reaches an end point.
A few practical tips:
- Top to bottom is the most natural reading direction. Left to right works too, but don't mix them.
- Keep Yes/No branches consistent. If "Yes" goes right on one diamond, it should go right on all of them.
- Label every branch. A diamond with unlabeled arrows is useless.
Step 5: Review and simplify
Look at the finished flowchart and ask:
- Are there dead ends? Every path should reach either an end symbol or loop back to a previous step.
- Are any steps redundant? If two consecutive steps always happen together and nobody needs to see them separately, merge them.
- Can someone unfamiliar with the process follow it? Show it to a colleague. If they get stuck, the chart needs work, not an explanation.
Example: User Registration Flow
Here's the complete flow from our walkthrough, written out as a structured diagram:
[Start: Visitor clicks Sign Up]
        ↓
[Enter email and password]
        ↓
    <Email already registered?>
      Yes → [Show "Email taken" error] → (back to Enter email)
      No ↓
[Send verification email]
        ↓
[Display "Check your inbox" page]
        ↓
[User clicks verification link]
        ↓
    <Link expired?>
      Yes → [Show "Link expired" message + Resend button] → (back to Send verification email)
      No ↓
[Activate account]
        ↓
[Redirect to dashboard]
        ↓
[End: Registration complete]
This covers the happy path and the two most common edge cases. In a real project, you'd probably add more branches (invalid password format, rate limiting, OAuth alternatives), but start with this core flow and expand later.
Common Mistakes
Starting in the drawing tool. The urge to open a tool and start placing shapes is strong. Resist it. If you skip the plain-text step, you'll spend more time rearranging boxes than thinking about the process. List the steps first, find the branches, then draw.
Trying to capture everything in one chart. A flowchart with 50+ shapes is a wall of visual noise. If your process is that complex, break it into sub-processes. Show the high-level flow in one chart, then create separate detail charts for each major section.
Unlabeled decision branches. A diamond that says "Valid?" with two arrows going in different directions — and no labels on the arrows — forces the reader to guess which is Yes and which is No. Always label.
Forgetting the unhappy path. It's easy to draw the ideal scenario where everything goes right. But the value of a flowchart is precisely in mapping out what happens when things go wrong. If you only draw the happy path, you haven't really mapped the process.
FAQ
What's the easiest way to make a flowchart online?
The easiest way is to start from a ready-made layout instead of a blank canvas. Open the flowchart template if you want the most common shapes and a sensible starting structure already in place, or use the flowchart maker when you want a blank live editor.
Should I start from a blank canvas or a template?
If you already know the process well and just need to capture it quickly, a blank canvas is fine. If you're still figuring out the flow, a template is usually faster because it gives you a start, a few process steps, and decision branches to replace instead of forcing you to arrange everything from zero. If you want inspiration first, browse these flowchart examples.
How many symbols do I really need?
Usually five: start/end, process, decision, input/output, and arrows. That covers most business process, onboarding, troubleshooting, and software flow diagrams. If you're unsure which shape means what, use the Flowchart Symbols Guide as your quick reference instead of memorizing a huge symbol library.
What's the difference between a flowchart and a workflow diagram?
"Workflow diagram" is a broader phrase. In practice, many teams use it to mean any diagram that shows how work moves from one step to the next. A flowchart is the lightest and most common version of that idea, especially when the diagram needs clear decision branches like Yes/No paths. If you mainly need to show order and branching, a flowchart is usually the right starting point.
Quick Tool Recommendations
Any tool that lets you place shapes and draw arrows will work. For quick diagrams, a whiteboard or pen and paper is hard to beat.
If you prefer a digital tool, CodePic is worth trying — it produces hand-drawn style flowcharts that look more approachable than the typical rigid corporate diagram. You can also describe your process in plain language and let the AI generate a starting diagram for you.
The best flowchart isn't the prettiest one — it's the one that makes a confusing process clear. Start with text, find the branches, draw, simplify. You can always refine it later as you learn more about the process.
Next Steps
- Ready to draw from a structure? Open the flowchart template and start immediately
- Want a blank editor first? Open the flowchart maker and start moving shapes right away
- Need examples before you begin? Browse flowchart examples
- Need a tool? See our comparison of free flowchart makers
- Want more symbol details? Check the Flowchart Symbols Guide


