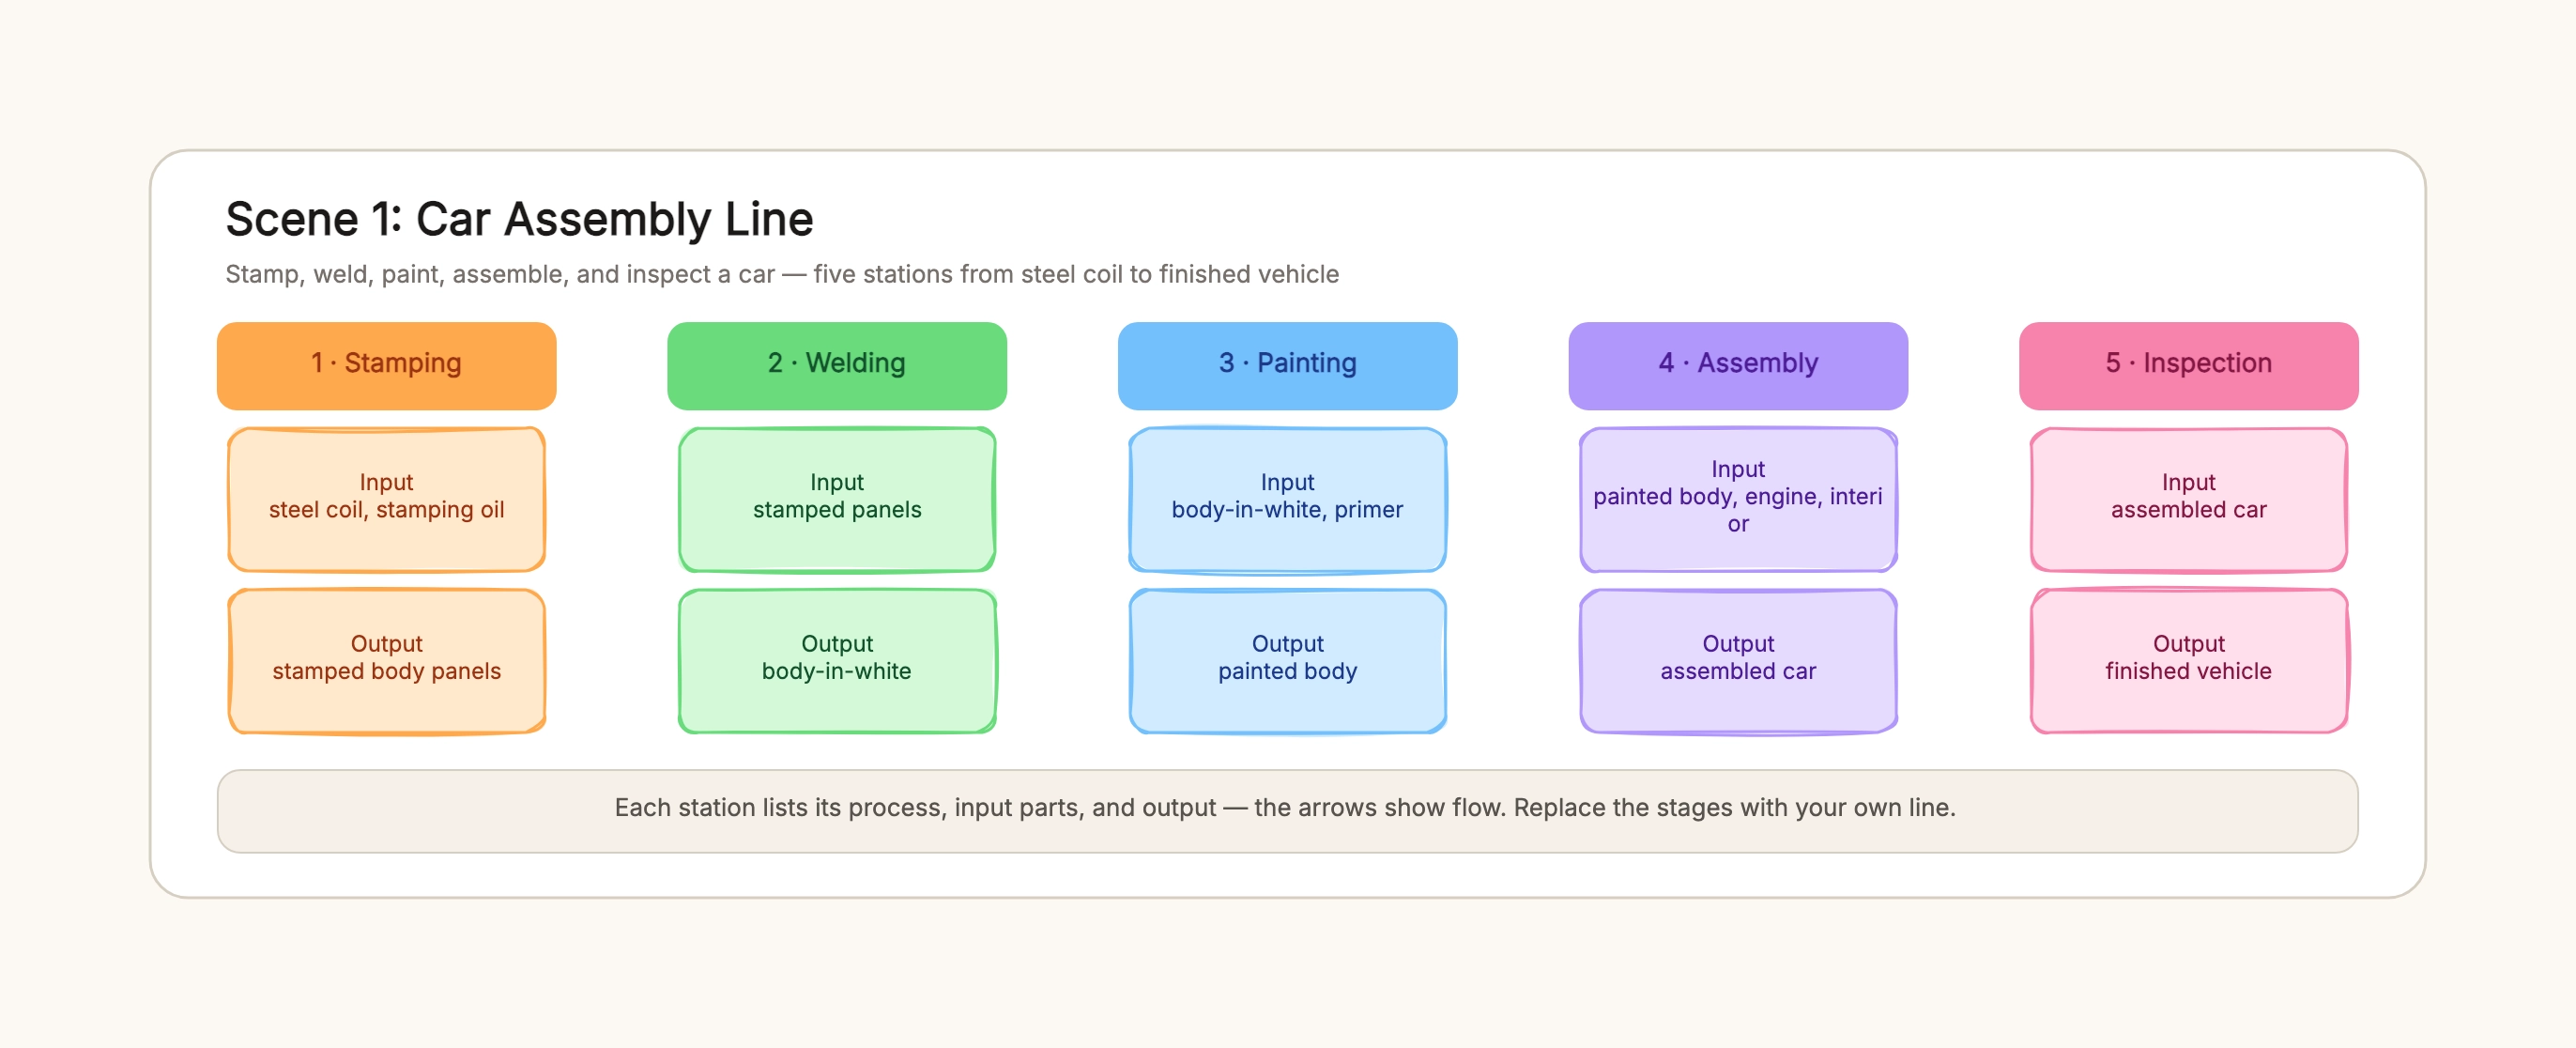
Car body line
Who uses it: A manufacturing engineer laying out a new vehicle program
1 · Stamping — steel coil → body panels
2 · Welding — panels → body-in-white
3 · Painting — body-in-white → painted body
4 · Assembly — body, engine, interior → car
5 · Inspection — car → finished vehicle
Why this works: The five stations follow the real order of a body shop, and each output becomes the next station's input, so the handoff reads without explanation.
Electronics PCB line
Who uses it: An SMT operator or electronics manufacturer
1 · SMT placement — bare PCB, components → populated board
2 · Soldering — populated board, through-hole parts → soldered board
3 · Assembly — soldered board, housing, screen → assembled unit
4 · Testing & packing — unit, adapter → boxed product
Why this works: A device flows from bare board to boxed product in four steps. Adding a rework loop as a dashed arrow covers boards that fail testing and get repaired in place.
Furniture flat-pack line
Who uses it: A small workshop owner making flat-pack furniture
1 · Cutting — sheet board → cut pieces
2 · Edge banding — cut pieces, edge tape → banded panels
3 · Drilling — banded panels → drilled panels
4 · Assembly & packing — panels, hardware → flat-pack units
Why this works: The line turns sheet board into flat-pack units. The hardware list on the last station is where most furniture lines differ, so it stays explicit.
Food packaging line
Who uses it: A food production student or line supervisor
1 · Preparation — raw ingredients → portioned mix
2 · Cooking — mix → cooked product
3 · Filling & sealing — cooked product, packaging → sealed units
4 · Inspection & boxing — sealed units → cased product
Why this works: Food lines add a hygiene step and a filling stage. The structure is the same linear sequence, but the inputs are ingredients and packaging instead of parts.
Garment sewing line
Who uses it: A small clothing brand owner planning a sewing floor
1 · Cutting — fabric rolls → cut panels
2 · Sewing — panels, thread → sewn garment
3 · Finishing — garment, buttons → finished piece
4 · Inspection & packing — piece → folded, tagged garment
Why this works: A garment line is a sewing sequence rather than a mechanical assembly. Each station hands a progressively more complete piece to the next.
Classroom teaching aid
Who uses it: A teacher or student explaining how a product is made
1 · Raw material
2 · First process
3 · Second process
4 · Finished product
Why this works: A simplified four-station line works as a teaching aid — replace the placeholder process names with real steps and add the input/output cards for each.