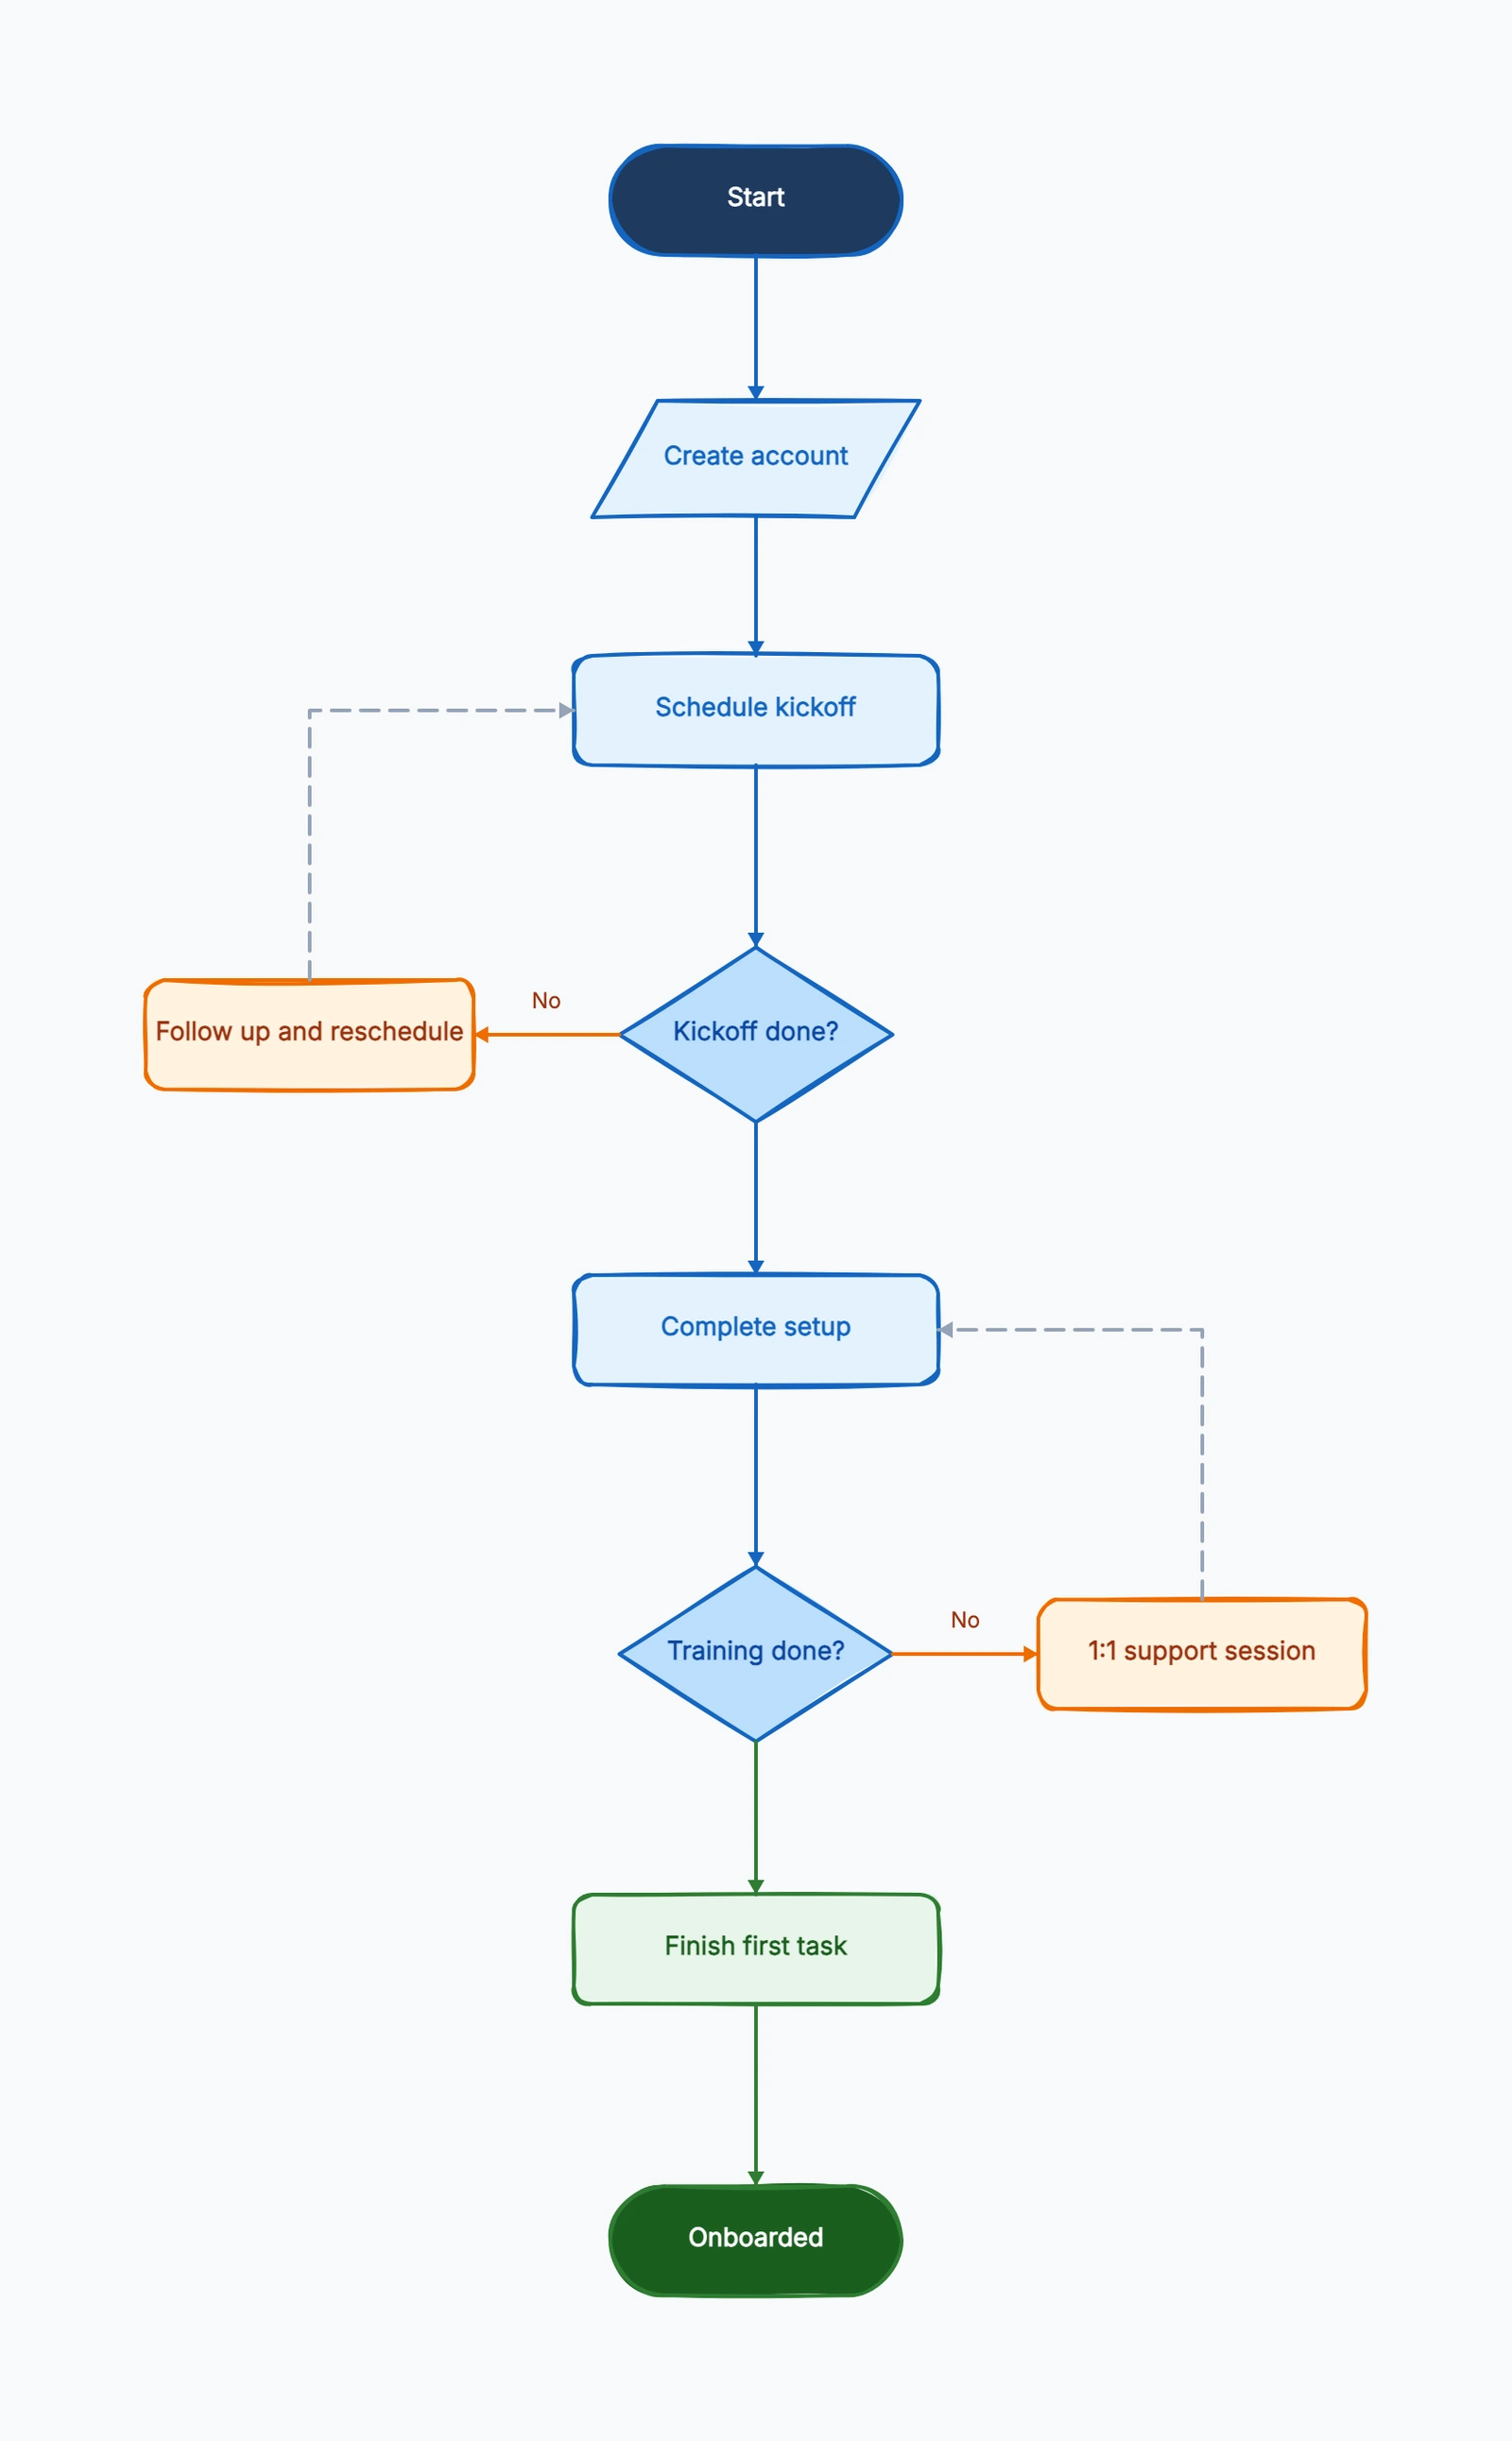
A volunteer onboarding process turns a person's willingness to help into a clear, supported first contribution. It should answer four practical questions: what happens next, who is responsible, what the volunteer needs before starting, and what to do when the normal path stalls. Without that structure, enthusiastic applicants can wait for replies, attend generic orientation without learning their role, or arrive for a first shift with nobody expecting them.
This guide shows a seven-step process and then walks through a realistic food pantry example. You can adapt the onboarding flowchart template to map the handoffs, decisions, and recovery paths for your own program.
What a volunteer onboarding process should achieve
Onboarding is not the same as recruitment. Recruitment helps someone discover an opportunity and decide to express interest. Onboarding begins when the organization needs to turn that interest into a suitable role, useful preparation, and a first experience that both sides can evaluate.
A workable process should produce five outcomes:
- the volunteer understands the role, schedule, boundaries, and expected tasks;
- the organization has completed the steps required for that particular role;
- a named person is ready to support the volunteer's first contribution;
- exceptions such as missed orientation or a poor role fit have a visible next step;
- the volunteer receives an early opportunity to ask questions, adjust the role, or step back.
Avoid treating every role as equally complex. A one-day event helper does not need the same path as a recurring mentor, driver, treasurer, or volunteer who handles private information. Start with a shared backbone, then branch only where the role genuinely requires it.
Volunteer onboarding process in 7 steps
The most useful workflow is short enough to understand at a glance but detailed enough to show ownership and exceptions. Seven stages usually provide that balance.
1. Confirm the role before collecting more information
Begin with a role card, not a blank application. State the purpose, typical tasks, location, time commitment, physical or technical expectations, supervision, and who the volunteer will work with. The first decision should be simple: does this opportunity match the person's availability and interests?
If the answer is no, offer another suitable route or close the inquiry respectfully. Do not keep every applicant in an undefined waiting list. A visible “different role” branch is better than quietly losing contact.
2. Collect only the information the role needs
Ask for contact details, availability, relevant experience, accessibility needs, and emergency information only when appropriate to the program. If the organization requires references, consent, eligibility confirmation, or other screening for a role, place that step in the correct branch and assign it to an authorized owner.
Do not copy screening steps from another organization without review. Requirements vary by role, organization, and location. The workflow should record the approved process, not invent policy or imply that one level of screening fits every volunteer.
3. Confirm placement and send a useful welcome
Once the role is confirmed, send one concise welcome message containing the coordinator's name, the agreed role, where and when to arrive, what to bring, accessibility or travel details, and the next scheduled step. Separate essential first-day information from background reading.
This is also the point to identify a stalled application. If required information is missing, show who follows up, how many attempts are reasonable under the organization's practice, and when the inquiry is paused. A flowchart makes that branch explicit instead of leaving it inside one coordinator's inbox.
4. Run a short shared orientation
Orientation should explain the organization's purpose, how the volunteer's task contributes, the basic conduct and communication expectations, and where to get help. Keep shared orientation focused on information every volunteer needs. Detailed task instruction belongs in the next stage.
Give volunteers a way to confirm understanding and raise concerns. Completion should mean more than “a link was sent.” Depending on the format, useful evidence might be attendance, a short conversation, or confirmation from the facilitator.
5. Provide role-specific training
Training should mirror the real work. A pantry greeter can practise welcoming visitors and directing the queue. A stock volunteer can learn lifting boundaries, date-checking rules defined by the organization, and where to place uncertain items. A remote communications volunteer can practise the review and approval path before publishing anything.
Assign a role lead to confirm readiness. If the volunteer needs more practice or the role does not fit, route them to additional support or another role. Avoid a binary pass/fail label when a small adjustment could create a good match.
6. Plan a supported first shift
The first shift needs a date, location, named contact, task, and check-in point. “Join the team on Saturday” is not enough. The volunteer should know whom to find, while the role lead should know that a new person is arriving.
Add a contingency for cancellations and no-shows on both sides. If a site closes, a supervisor is absent, or the volunteer cannot attend, the workflow should lead to rescheduling rather than sending everyone back to the beginning.
7. Follow up and confirm the ongoing path
Within a reasonable period after the first contribution, ask what was clear, what was confusing, whether the role still fits, and what support is needed. The outcome might be a recurring schedule, another trial shift, a different role, a pause, or a respectful close.
Record the next owner and next contact date. A completed form is not the finish line; a mutually understood next step is.
Complete example: onboarding a weekend food pantry volunteer
Imagine a neighborhood food pantry needs two Saturday volunteers: one greeter and one stock assistant. The coordinator receives an inquiry from Maya, who is available twice a month and prefers a role with limited lifting.
The workflow starts by comparing Maya's preference with both role cards. The stock role regularly involves lifting, so the coordinator offers the greeter role instead. Maya confirms interest and provides the contact and availability information required for that role. No unrelated experience history is requested.
The coordinator sends a welcome message with the Saturday arrival time, entrance, transit information, clothing guidance, and the name of the shift lead. Maya attends a 30-minute shared orientation about the pantry's purpose, visitor dignity, confidentiality expectations, and how to ask for help. She then receives role training at the actual welcome desk: greeting visitors, identifying the queue start, directing accessibility requests to the lead, and escalating questions she cannot answer.
For the first shift, Maya is paired with an experienced greeter for the opening hour. The workflow includes two possible branches. If Maya is comfortable, she completes the shift and schedules the next date. If the pace or role is not a good fit, the coordinator discusses a quieter packing role with appropriate task adjustments.
Two days later, the coordinator sends three questions: Was the arrival information clear? Did you know who to ask for help? Would you like the same role next time? Maya asks for a clearer explanation of the visitor check-in boundary, so the role lead updates the training note before the next new volunteer arrives.
This example shows why the process is more useful than a list of forms. It captures fit, ownership, training in context, a supported first experience, and a feedback loop that improves the program.
How to draw the workflow clearly
Use one horizontal flow for the volunteer journey and add small swimlanes only if several owners are involved. A practical map might include lanes for the volunteer, coordinator, role lead, and an authorized support function. Keep the volunteer's experience readable from left to right.
Use rectangles for actions, diamonds for real decisions, and end states for “ongoing role,” “different role,” “paused,” or “closed.” Do not turn ordinary actions such as “send welcome message” into decisions. Label branches with specific outcomes such as “role fits / adjust role” or “orientation attended / reschedule.” The process map template is useful when you need to show inputs and handoffs, while the onboarding flowchart is better for alternate paths.
Before publishing the workflow, test it with three cases:
- a volunteer who follows the normal path;
- a volunteer who misses orientation;
- a volunteer whose first role is not a good fit.
If the map cannot show what happens in all three cases, it is probably describing the ideal journey rather than the real process.
Checklist, process map, or handbook?
These formats solve different problems and often work together.
| Format | Best for | Weakness |
|---|---|---|
| Checklist | A coordinator completing a short, predictable set of tasks | Hides decisions and cross-team handoffs |
| Process map | Showing sequence, owners, decisions, delays, and alternate routes | Does not contain every policy detail |
| Handbook | Explaining conduct, role guidance, and reference information | Hard to scan when someone needs the next action |
Use the process map as the shared route, link each stage to the relevant checklist or guidance, and keep the handbook as a reference. Repeating the same policy in three places creates version problems. If many groups influence the program but do not own onboarding tasks, a stakeholder map can clarify their relationship without adding unnecessary lanes to the workflow.
Adapt the process to different volunteer roles
A one-time event volunteer may move from role confirmation to a short briefing and supported shift in a few days. A recurring administrative volunteer may need system access and task review. A team lead may need practice handling questions and escalating incidents. The backbone remains the same, but the required branch changes.
Create role tiers based on actual responsibility rather than prestige. For example:
- briefing route: low-complexity, supervised, one-time tasks;
- standard route: recurring tasks with orientation and role training;
- additional review route: responsibilities that the organization has determined need extra authorization, preparation, or supervision.
Document who decides the route and how it can change. That keeps the process consistent without pretending every volunteer needs identical onboarding.
Common volunteer onboarding mistakes
Sending information without confirming the next action
A long welcome email can still leave the volunteer unsure what to do. Put the next date, owner, location, and expected outcome at the top of each handoff.
Using one route for every role
An oversized process discourages one-time helpers, while an undersized process leaves complex roles unprepared. Use a shared backbone with role-specific branches.
Treating orientation as role training
Mission and general expectations do not teach a person how to perform a task. Keep orientation shared and training concrete.
Leaving the first shift unowned
When nobody is named, a new volunteer can arrive unnoticed. Assign one first-shift contact and a backup.
Ending the process at attendance
Showing up once does not confirm fit or future availability. Add an early follow-up and record the agreed next step.
Hiding exceptions in email
Missed sessions, delayed screening, accessibility adjustments, and role changes are part of the process. Map their next actions so they do not depend on one person's memory.
Keep the process useful over time
Review the map when a role changes, a handoff repeatedly stalls, or volunteers report the same confusion. Useful operational signals include time waiting for a reply, orientation reschedules, first-shift attendance, early role changes, and the questions repeatedly raised at check-in. Use them to find friction, not to rank volunteers.
Assign one owner to maintain the workflow and ask role leads to validate their stages. A quarterly review may suit an active program; a seasonal or event-based program can review after each cycle. The right cadence is the one that catches real changes before the next group enters.
Start with the onboarding flowchart template, replace the generic milestones with your program's approved steps, and test the exception routes before inviting the next volunteer cohort. For broader community planning, see the community asset mapping guide and the stakeholder mapping example.