A wedding seating chart is one of those planning tasks that looks simple until you actually start moving names around. You are not just filling tables. You are balancing two families, friend groups, older relatives, children, vendors, dietary notes, the dance floor, the bar line, and the invisible politics of who should not be seated together.
That is why a seating chart works better as a visual layout than as a list. A spreadsheet can track RSVPs, meal choices, and addresses. But when you need to decide where people sit in the room, you need to see the room.
This guide walks through how to make a wedding seating chart step by step, from the first table layout to a printable final plan.
Start with the room, not the guest list
The most common mistake is opening the guest list and trying to arrange people immediately. That feels productive, but it skips the thing that actually controls the chart: the room.
Before assigning a single guest, mark the fixed parts of the venue:
- entrance
- couple table or head table
- dance floor
- DJ or band
- bar
- buffet or catering path
- restrooms
- photo booth or photo corner
- gift table
- any columns, doors, or awkward corners
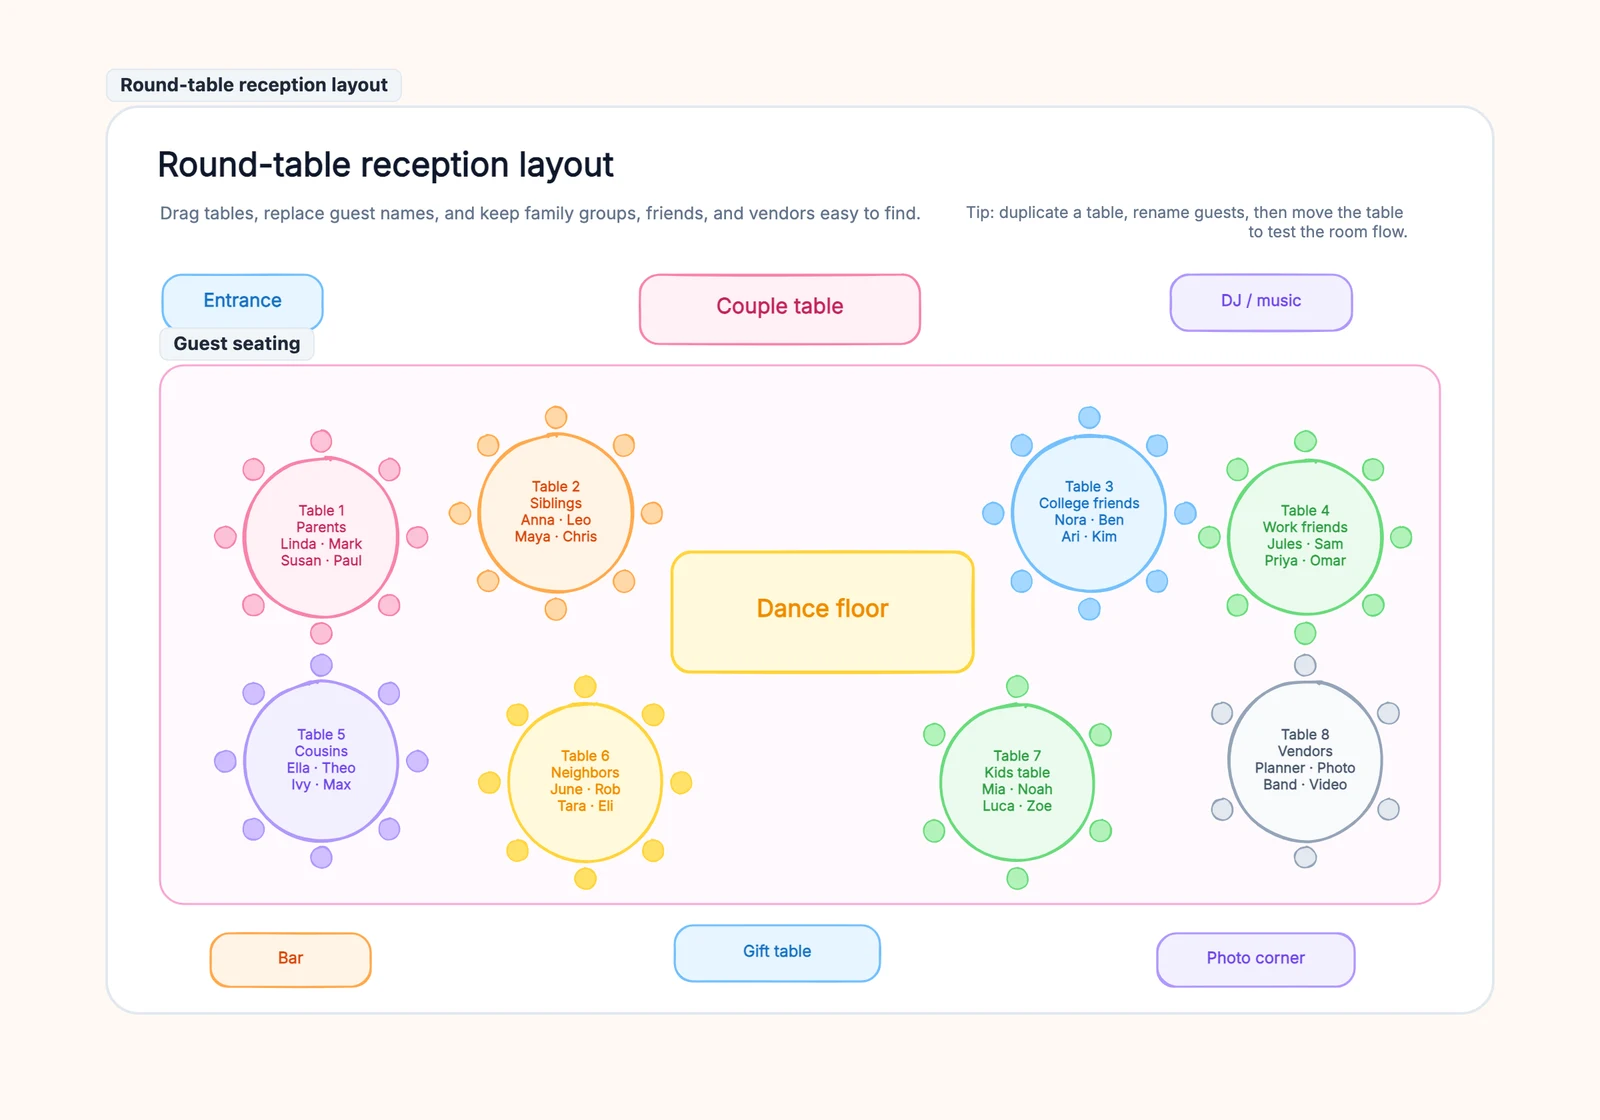
Then place the table shapes. Are you using round tables, long banquet tables, a mix of the two, or a small outdoor arrangement? Table shape changes the whole seating logic. Eight round tables create small conversation groups; two long tables create a family-style dinner; a head table changes where parents and the wedding party sit.
If you are still deciding table style, start with the wedding seating chart template. It includes round tables, long tables, family-zone layouts, and a small outdoor wedding scene.
Step 1: Decide whether you are assigning tables or seats
There are two levels of wedding seating:
- table assignment: guests are assigned to a table, but choose their own seat
- seat assignment: guests have an exact seat at the table
Most weddings only need table assignments. It is easier to manage, less formal, and gives guests a little freedom. Exact seats are useful when the dinner is formal, every meal is plated with individual service notes, or you have family dynamics that require specific distance between specific people.
For a typical reception, start with table assignments. You can always add exact seats later if the event style calls for it.
Step 2: Group guests by relationship
Do not start by placing individuals one at a time. First, group guests into natural clusters:
- parents and grandparents
- siblings and partners
- extended family
- college friends
- work friends
- neighbors
- children and guardians
- vendors
- guests who do not know many people
This makes the chart easier to reason about. Instead of asking “Where does Jamie go?” you ask “Which friend group does Jamie belong with?” The second question is calmer and usually has a better answer.
Use temporary group labels at first. “College friends,” “A-side family,” or “vendor meal area” is enough. Replace those labels with real names once the table layout works.
Step 3: Place VIP tables first
Some tables have stronger constraints than others. Place those first:
- Couple table or head table
- Parents and grandparents
- Wedding party
- Guests with accessibility needs
- Children or guests who need quieter seating
Older relatives often need lower noise, better access to exits, and less walking. Do not place them directly beside the DJ, bar queue, or dance floor speaker. If grandparents need to see the couple and the speeches, place them near the front but not in the loudest zone.
If parents are divorced or family relationships are sensitive, give each side equal visual importance without forcing uncomfortable proximity. A seating chart is one of the few planning tools where distance can solve emotional problems before the wedding day.
Step 4: Arrange friend groups around energy zones
After family and VIP tables, place friend groups based on energy.
The tables closest to the dance floor, bar, or DJ can hold friends who will enjoy that energy. Quieter guests can sit farther away. Work friends may be happier together than mixed randomly into family tables. Guests who know almost nobody should be seated with friendly connectors — people who naturally include others in conversation.
Think of the room in rings:
- front ring: couple, parents, grandparents, immediate family
- center ring: close friends and high-energy groups
- side ring: quieter guests, children, vendors, late-arriving guests
- edge zones: bar, gift table, photo corner, service paths
This ring logic is not strict, but it prevents the classic mistake of randomly scattering people because the spreadsheet happened to be sorted alphabetically.
Step 5: Check the walking paths
A seating chart is not only about who sits with whom. It is also about how people move.
Trace the paths:
- entrance to table
- table to restroom
- table to bar
- table to dance floor
- catering path to tables
- photographer path around the room
If every table crowds the dance floor, guests will cut between chairs. If the bar is in a narrow corner, you will create a line that blocks the entrance. If the children’s table is on the far side of the room, parents may spend the night walking back and forth.
On the visual chart, these problems are easy to spot. On a spreadsheet, they are invisible.
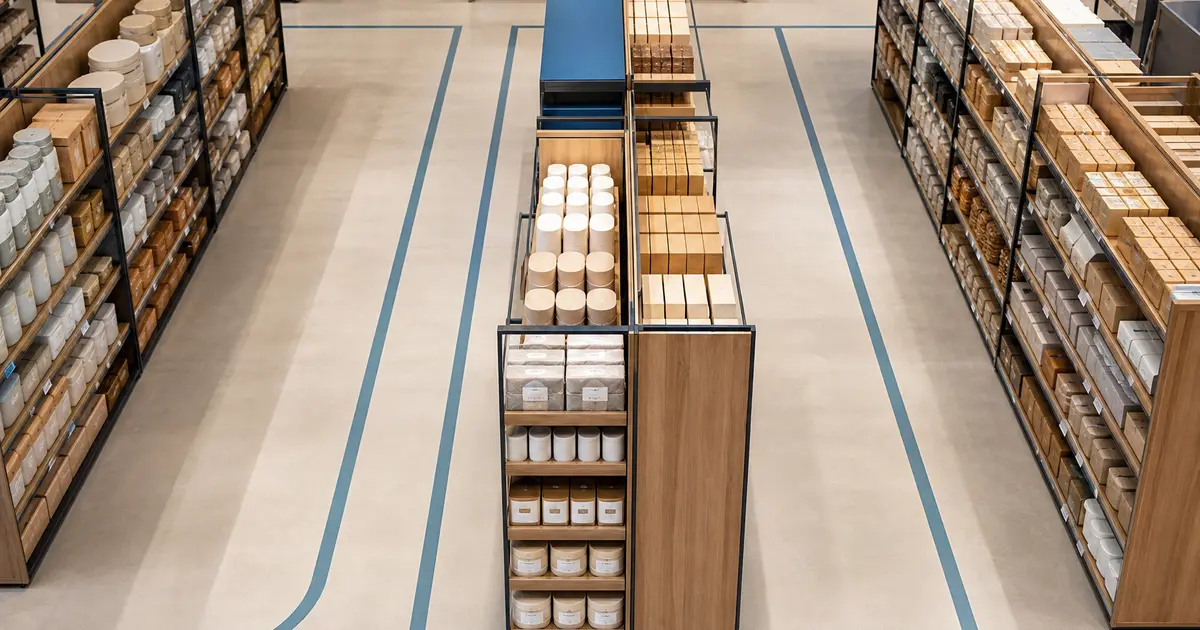
For a broader venue-layout example, see the restaurant floor plan template. The same idea applies: flows matter as much as furniture.
Step 6: Add vendors, children, and special notes
Wedding seating charts often break because the “non-guest” details are handled last.
Add these explicitly:
- vendor meal area for planner, photographer, band, video, and officiant if needed
- children’s table or family table with guardians
- high chair or stroller space
- wheelchair access
- dietary notes if the venue needs them visible
- reserved seats for ceremony-to-reception transitions
Vendors do not need prime reception seating, but they do need a real meal location. Children may need to be close to parents or away from the loudest part of the room. Guests with mobility needs should not be placed behind tight chair rows.
Small notes on the chart prevent large wedding-day questions.
Step 7: Export a clean version for printing
Once the layout works, simplify it for the final printable version. A planning chart can include notes, arrows, and reminders. A guest-facing chart should be calmer:
- table numbers or names
- guest names under each table
- clear title
- simple layout
- no internal planning notes
Export the final chart as an image and use it for signage, planner notes, or venue review. If the venue has its own floor plan, send your chart as the concept version: it explains what you want, while the venue handles exact dimensions.
Round tables vs long tables
Round tables are easier for mixed groups. Everyone can see each other, conversation flows naturally, and you can place tables around the dance floor. They are the safest choice for larger receptions.
Long tables feel more intimate and editorial. They work well for garden weddings, family-style dinners, and small receptions. But they require more thought: who sits across from whom, where servers move, where speeches happen, and how guests leave the table without squeezing past everyone.
If you are unsure, draft both layouts. The visual difference becomes obvious quickly.
Common mistakes to avoid
- Planning names before table shapes. Place the room first, then add guests.
- Seating older relatives beside speakers. They should be close to the action, not trapped in the noise.
- Forgetting vendors. They need a meal area too.
- Overfilling tables. Confirm capacity with the venue before printing.
- Ignoring family politics. Mark sensitive relationships early and solve them visually.
- Treating the chart like a spreadsheet. Seating is spatial; use a spatial tool.
Free wedding seating chart template
Open the free wedding seating chart template and choose the scene closest to your reception:
- round-table reception
- long-table dinner
- head table with family zones
- small outdoor wedding
Replace the sample guest groups, duplicate or delete tables, move the dance floor and service areas, then export a clean printable chart.
Related reading
- Wedding Seating Chart Template — Start with the editable layout.
- Restaurant Floor Plan Template — Learn how seating, service flow, and space planning work together.
- Timeline Template — Plan the ceremony and reception schedule.
- Family Tree Template — Useful when you need to understand extended family relationships before assigning tables.