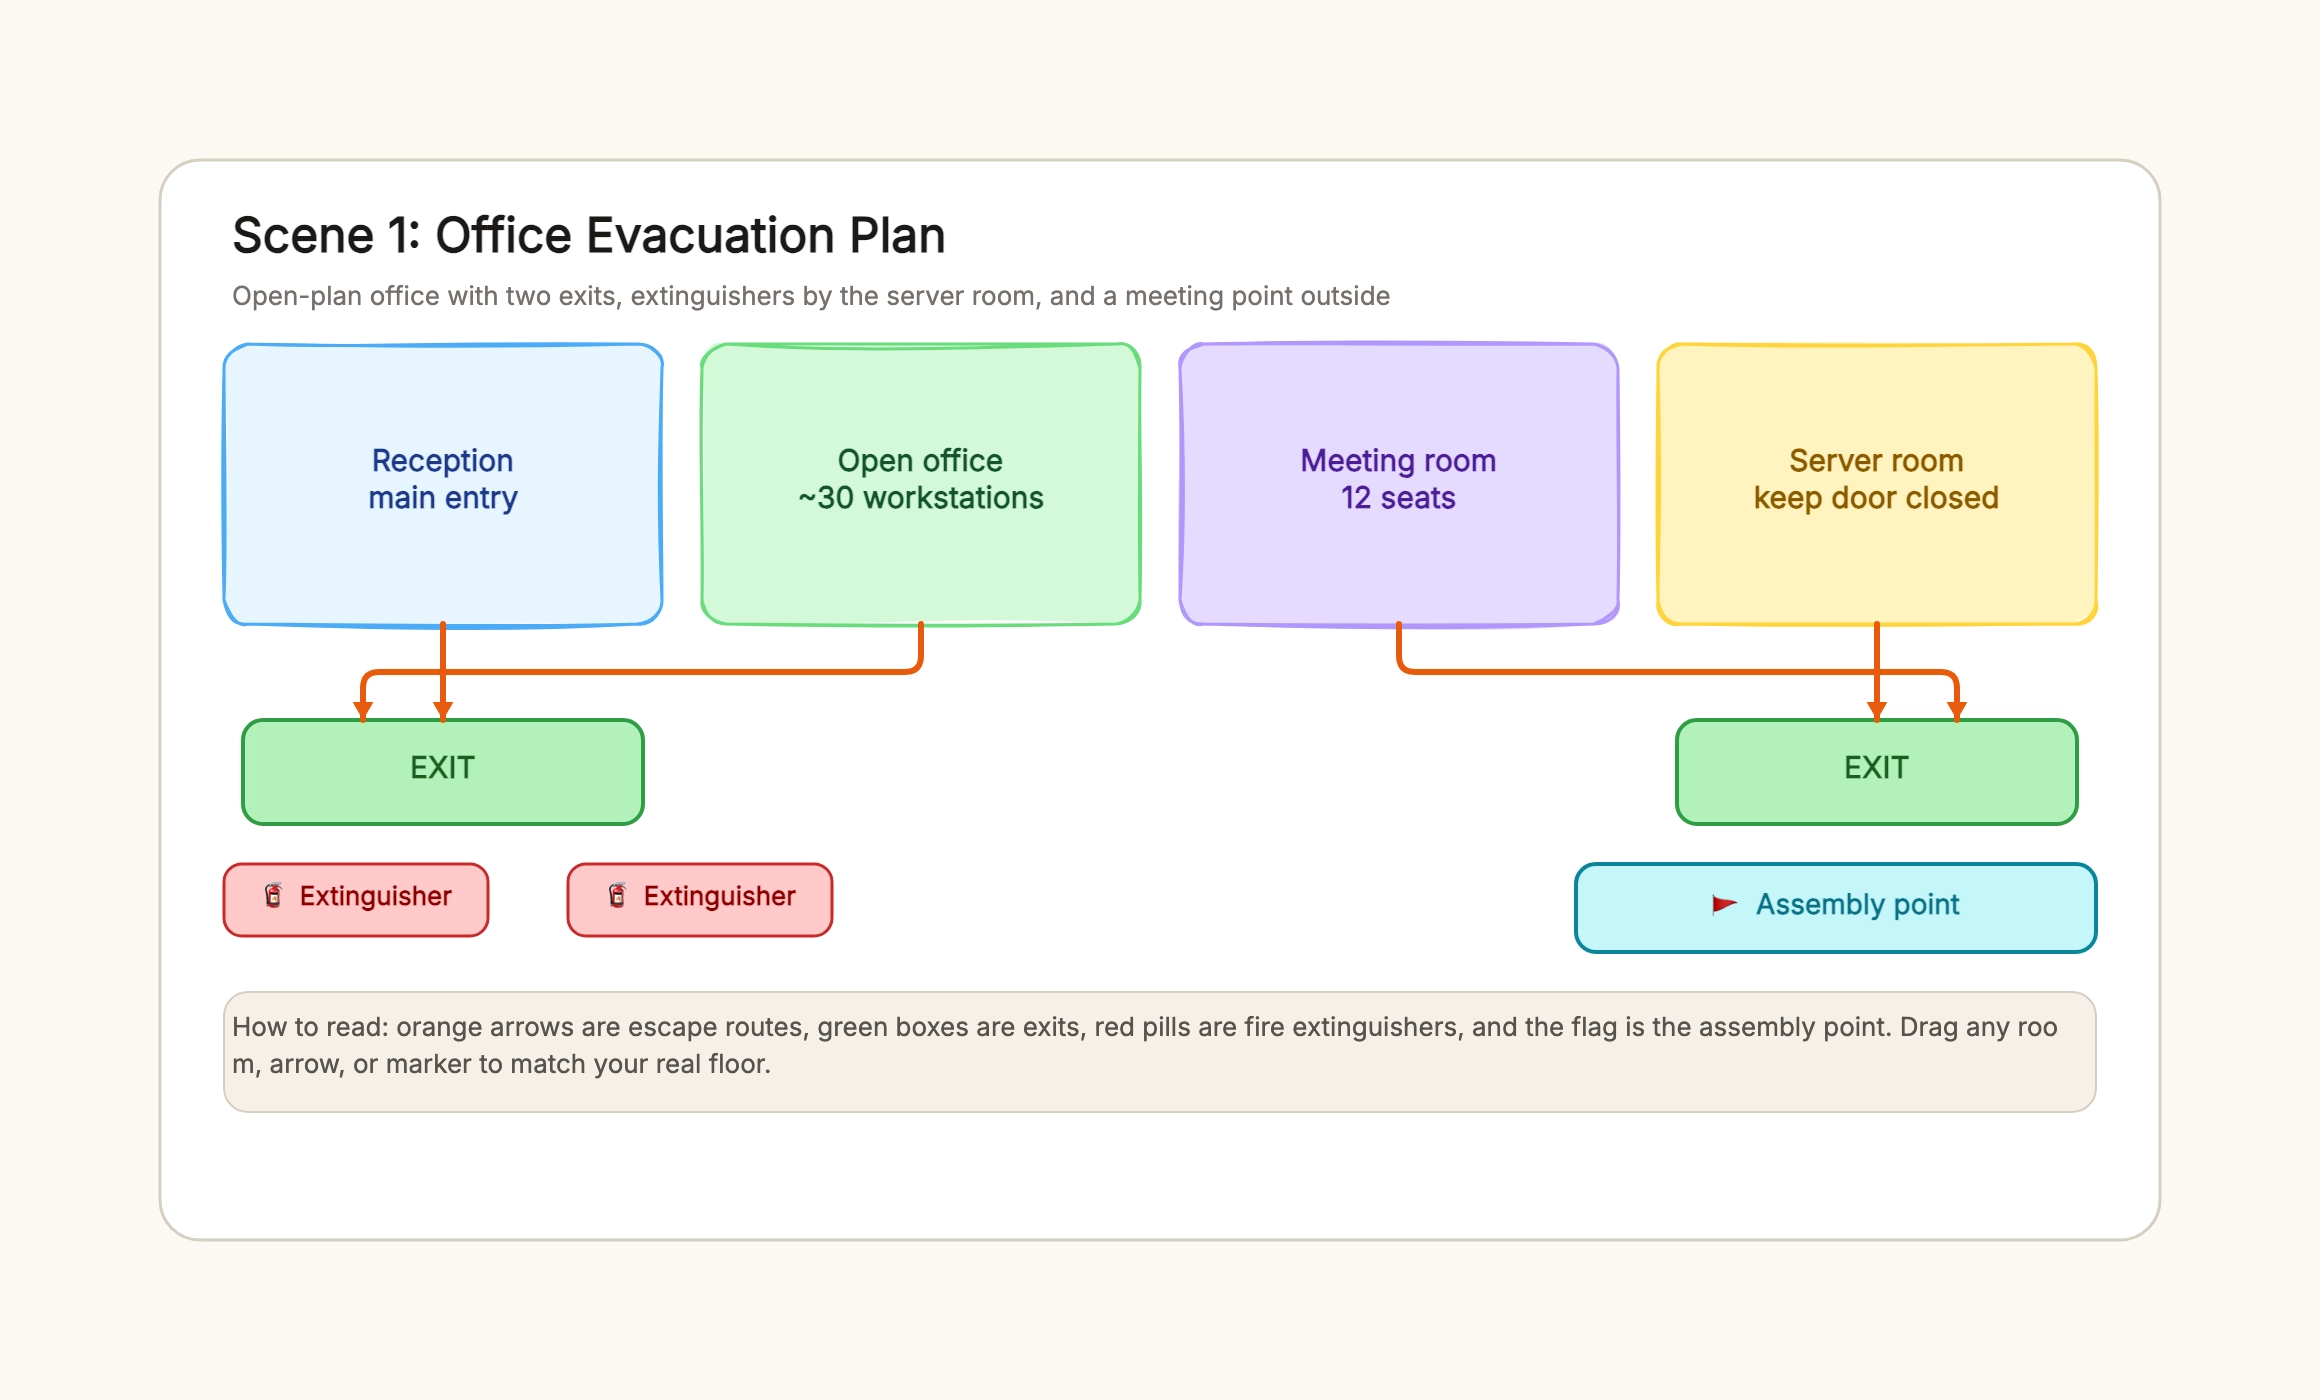
Open-plan office
Who uses it: A facilities or office manager responsible for a workplace
Reception and open office → two exits
Server room with an extinguisher at the door
Meeting room primary route plus alternate
Assembly point in the front car park
Why this works: An office is open plan, so the plan focuses on giving every zone a clear route to one of two exits and placing extinguishers where electronics concentrate.
Primary school corridor
Who uses it: A school administrator or safety coordinator
Classrooms along a central corridor
Exits at both ends of the corridor
Library and staff room routes
Playground as the assembly point
Why this works: Schools move many people at once. Routing each classroom to the nearest corridor exit and counting everyone on the playground keeps the flow simple for children and staff.
Residential apartment floor
Who uses it: A building owner or residents' committee
Units 101–103 with a shared stairwell
Stairwell marked as the fire exit, not the elevator
Extinguishers on each floor
Outdoor meeting point by the entrance
Why this works: Residents should follow the building's approved instructions for stairs, elevators, refuge areas, and assisted evacuation. Marking units, approved routes, and meeting points helps visitors read the visual layer.
Warehouse with loading bay
Who uses it: A warehouse or logistics manager
Racking aisles with clear escape lanes
Exits at both ends plus the loading bay
Extinguishers at the bay and electrical panels
Assembly point outside the yard gate
Why this works: Warehouses combine fire risk with long sight lines. The plan keeps aisles clear, gives two directions out, and puts the assembly point away from incoming trucks.
Small shop front
Who uses it: A retail store owner or shift lead
Sales floor to the front door
Back stockroom to the rear exit
One extinguisher near the counter
Assembly point across the street
Why this works: A small space still needs a plan. A shop gets two exits — front and rear — plus one extinguisher, so a single shift worker can direct customers without hesitating.
Multi-floor stairwell route
Who uses it: A building engineer or HOA safety lead
Each floor's units to the stairwell
Stairwell landings kept clear
Floor-level extinguishers and alarms
Ground-level assembly point
Why this works: Multi-floor buildings rely on the stairwell. The plan marks it on every floor and keeps landings clear, so occupants descend in order and meet at the same ground-level point.