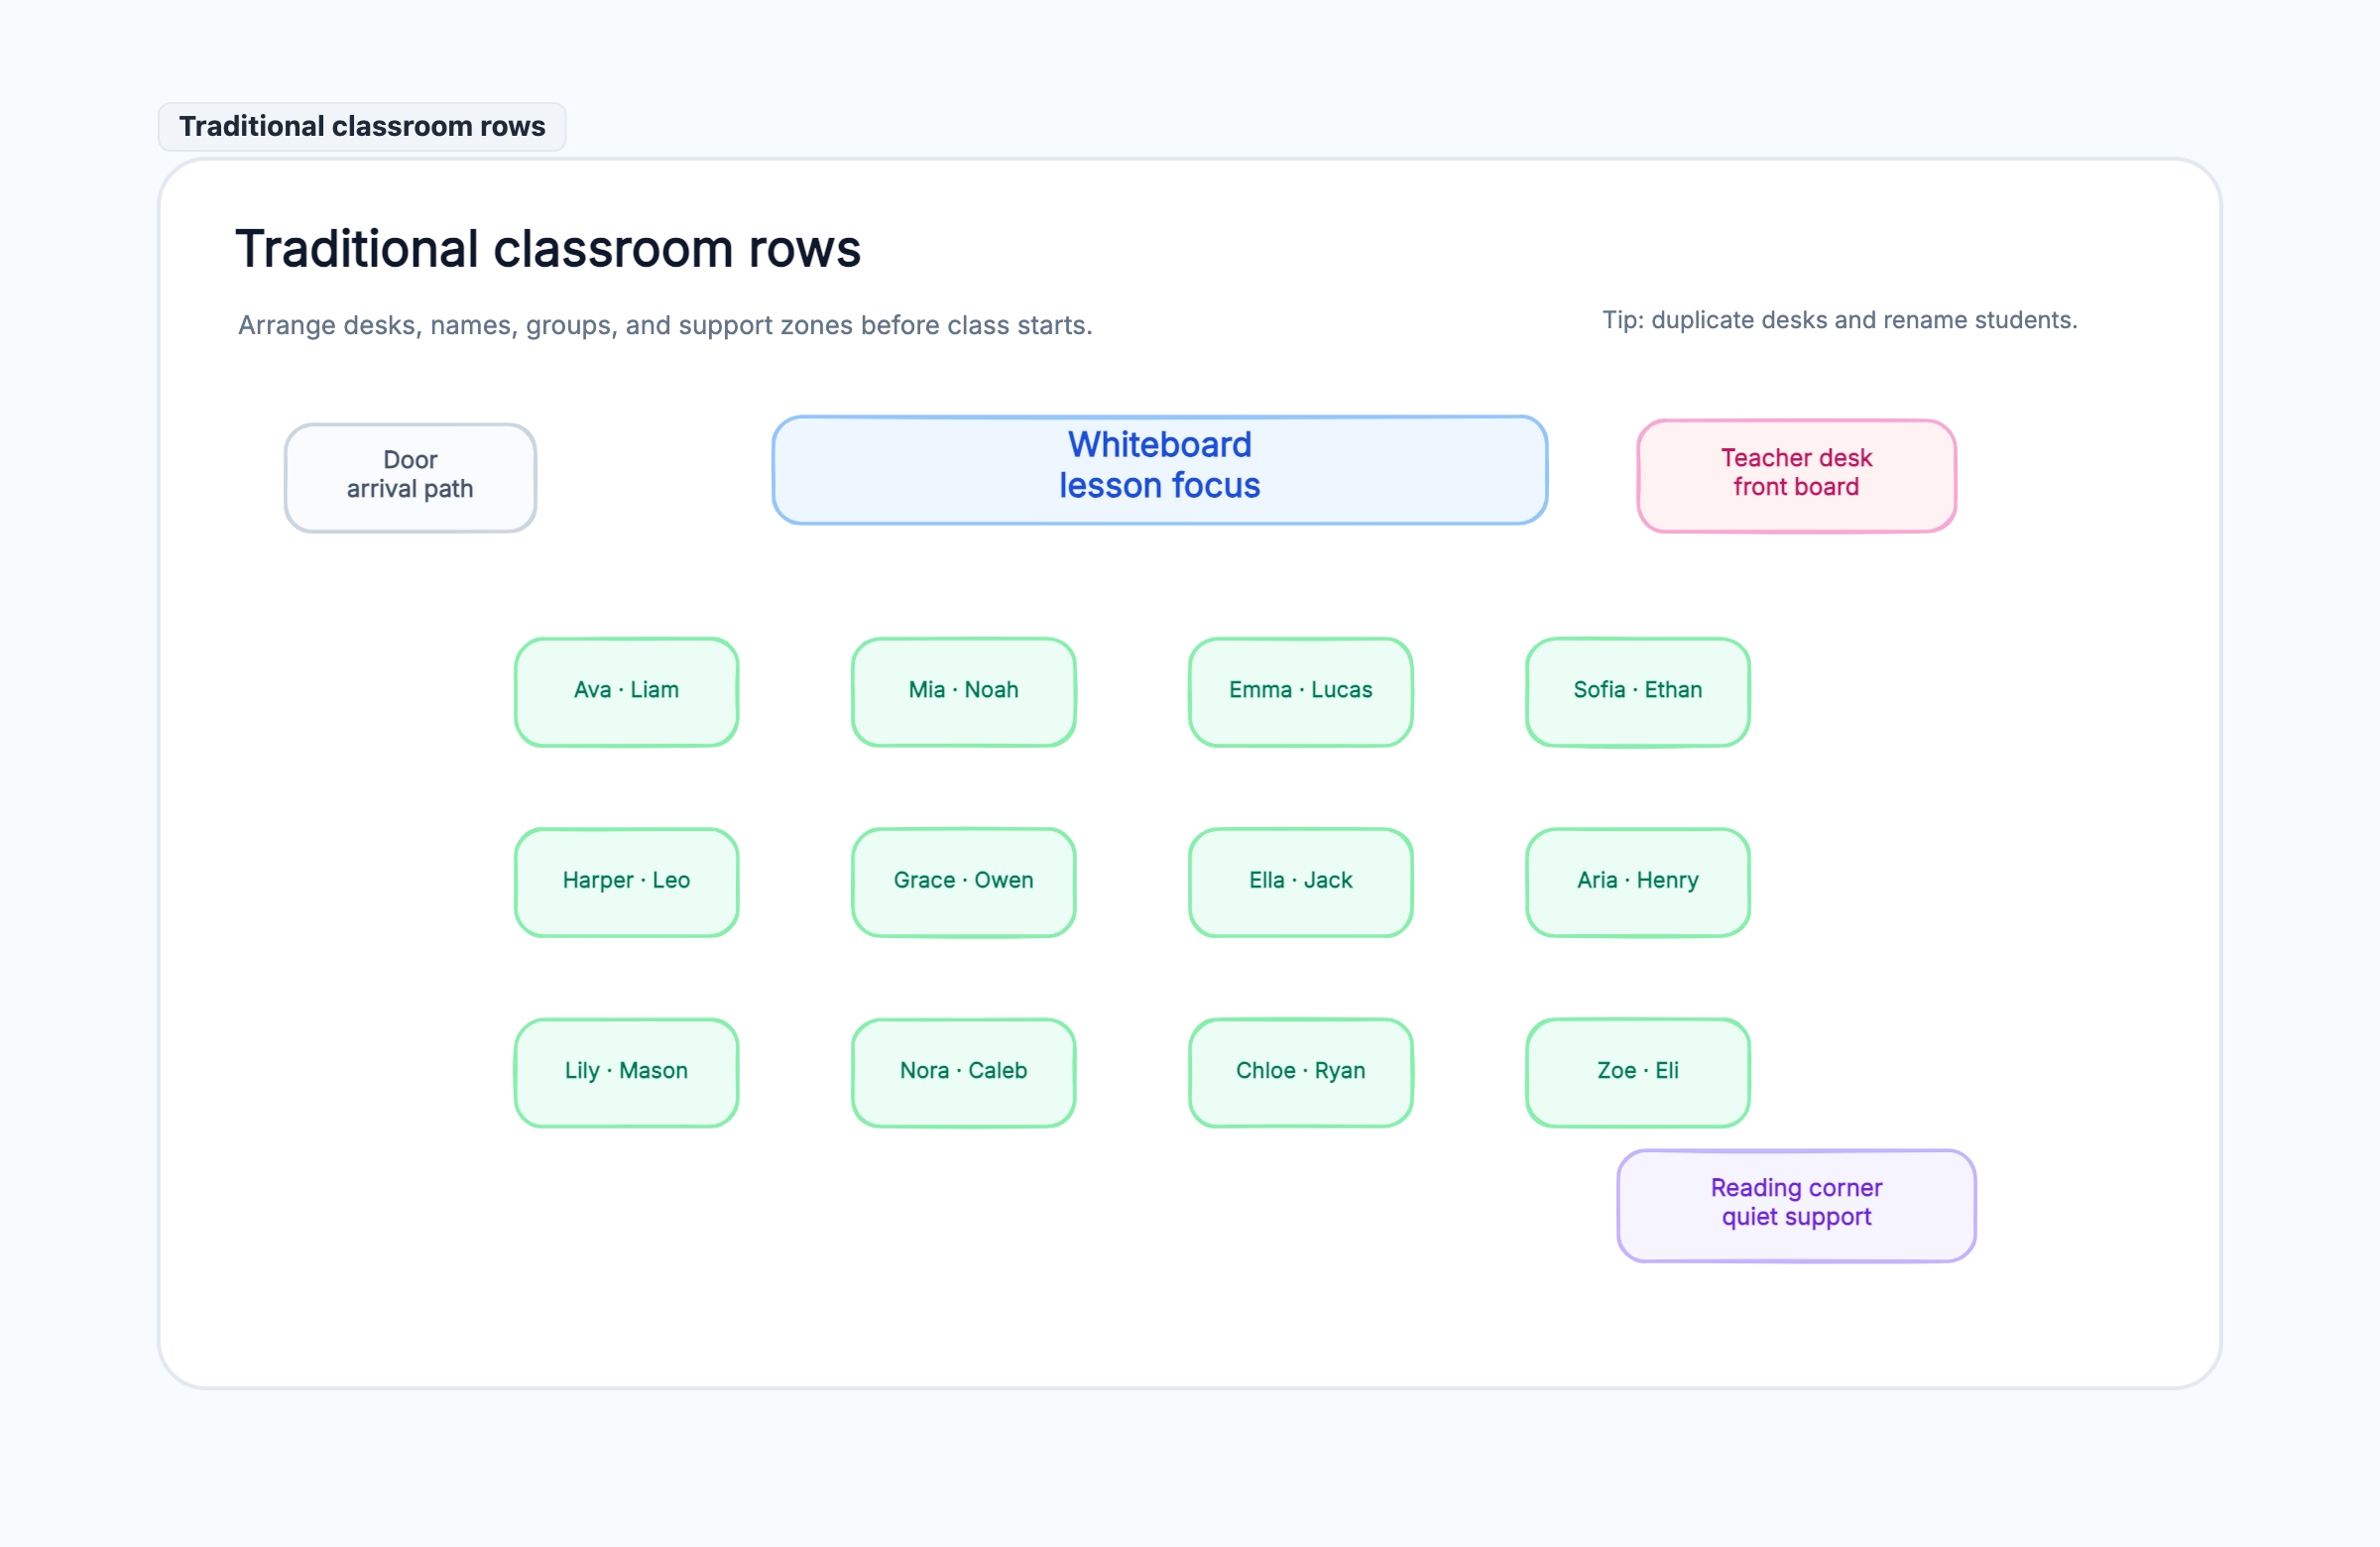
Traditional rows
Who uses it: A teacher planning direct instruction or assessments
Board and teacher desk at the front
Twelve editable student desks
Door and reading corner marked
Clear sight lines toward the board
Why this works: Rows make it easy to see the front, reduce side conversations, and support individual work. Keep aisle space so the teacher can circulate.
Groups of four
Who uses it: A teacher planning projects, labs, or peer coaching
Six group cards
Four student names per group
Teacher and board at the front
Space between groups for circulation
Why this works: Groups work best when each cluster has a purpose. Balance personalities, academic support, and collaboration rather than simply filling seats.
U-shape discussion
Who uses it: A seminar, debate, or presentation class
Left and right seating arms
Open discussion space
Teacher support zone
Reading/support area at the edge
Why this works: A U-shape makes faces visible and opens the middle for discussion, modeling, or presentations.